
Everyone has been there….staring at a dessert that you really don’t want to eat, but feeling the polite pressure to try a piece. Whether it’s a fruitcake at a holiday gathering or a mysterious gelatin creation at a potluck, some desserts get pushed our way for the sake of manners rather than genuine desire. Here’s a lighthearted look at those ten desserts that people often taste just to keep things friendly.
Ambrosia Salad with Marshmallows
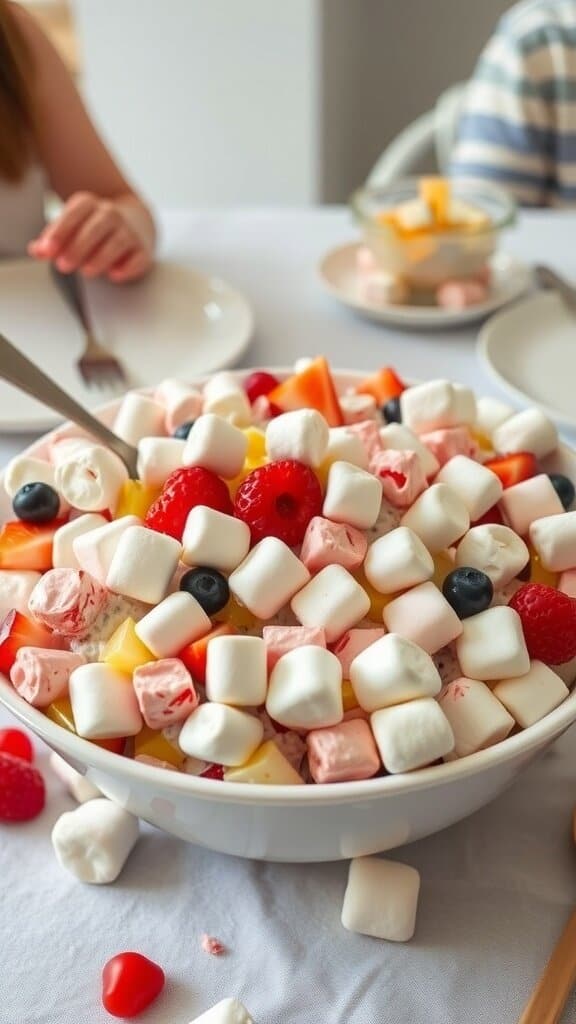
Ambrosia salad is one of those desserts that often appears at gatherings, and it’s easy to see why. This colorful dish is a mix of fruits, whipped cream, and, of course, marshmallows. The fluffy texture and sweet flavor make it a favorite, even if it’s not always the most exciting option on the table.
In the image, you can see a vibrant bowl filled with various fruits like strawberries, blueberries, and peaches, all topped with a generous amount of mini marshmallows. It’s a feast for the eyes! People often try ambrosia salad out of politeness, especially when it’s served at family gatherings or potlucks. It’s a classic that many have grown up with, even if it’s not their first choice.
Making ambrosia salad is simple and requires just a few ingredients. It’s a great way to use up leftover fruit and can be customized to suit your taste. Whether you love coconut, cherries, or nuts, you can add those in too!
Ingredients
- 1 can (15 oz) mandarin oranges, drained
- 1 can (20 oz) pineapple chunks, drained
- 1 cup mini marshmallows
- 1 cup shredded coconut
- 1 cup whipped cream or Cool Whip
- 1 cup maraschino cherries, halved
- 1/2 cup chopped nuts (optional)
Instructions
- In a large bowl, combine the mandarin oranges, pineapple chunks, mini marshmallows, and shredded coconut.
- Gently fold in the whipped cream until everything is well coated.
- Add the maraschino cherries and nuts, if using, and mix gently.
- Cover the bowl and refrigerate for at least an hour to let the flavors meld.
- Serve chilled and enjoy this sweet treat!
Overly Rich Chocolate Mousse
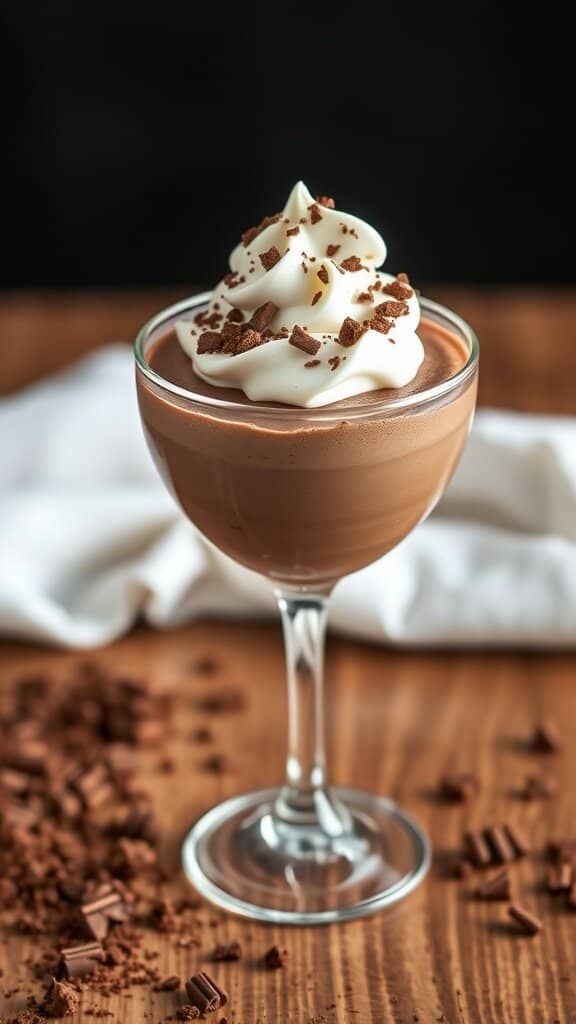
Chocolate mousse is a classic dessert that many people feel obligated to try, even if they aren’t huge fans of rich sweets. It’s often served at fancy dinners or special occasions, making it hard to refuse. The image shows a beautifully presented chocolate mousse topped with whipped cream and chocolate shavings, making it look irresistible.
This dessert is known for its creamy texture and intense chocolate flavor. It can be overwhelming, especially for those who prefer lighter treats. Yet, the allure of chocolate often wins people over, even if they only take a small spoonful to be polite.
Making chocolate mousse at home is easier than you might think. With just a few simple ingredients, you can whip up a dessert that impresses everyone at the table. Here’s how to do it:
Ingredients
- 8 ounces bittersweet chocolate, chopped
- 2 tablespoons unsalted butter
- 3 large eggs, separated
- 1/4 cup granulated sugar
- 1 cup heavy cream
- 1 teaspoon vanilla extract
- Pinch of salt
Instructions
- Melt the Chocolate: In a heatproof bowl, combine the chopped chocolate and butter. Set it over a pot of simmering water, stirring until smooth. Remove from heat and let cool slightly.
- Whip Egg Yolks: In a separate bowl, whisk the egg yolks and sugar until pale and thick. Gradually mix in the melted chocolate and vanilla extract.
- Beat Egg Whites: In another bowl, beat the egg whites with a pinch of salt until stiff peaks form. Gently fold the egg whites into the chocolate mixture.
- Whip Cream: In a separate bowl, whip the heavy cream until soft peaks form. Carefully fold the whipped cream into the chocolate mixture until no streaks remain.
- Chill: Spoon the mousse into serving dishes and refrigerate for at least 2 hours before serving. Top with whipped cream and chocolate shavings if desired.
Dry Wedding Cake
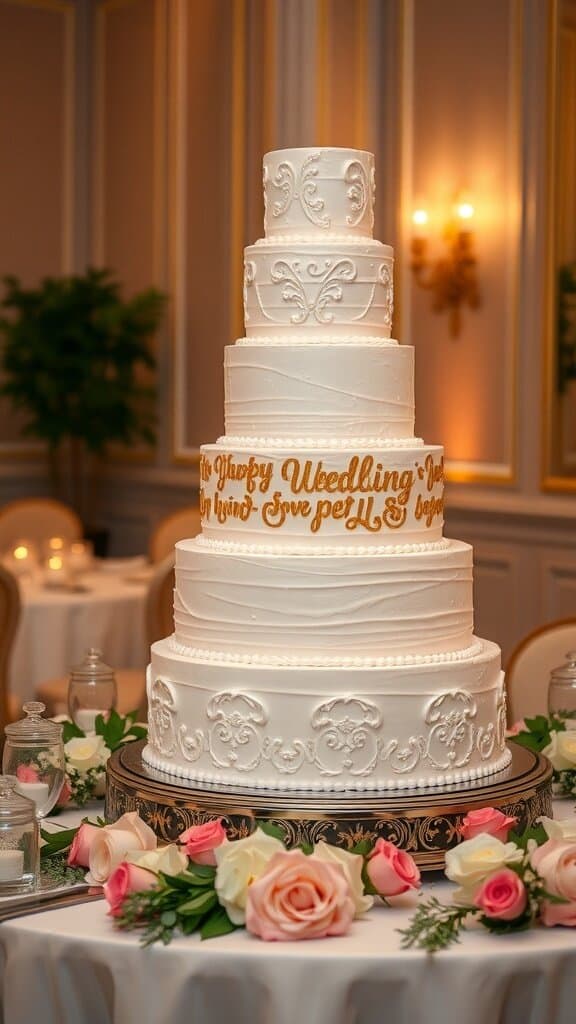
Wedding cakes are often stunning to look at, but let’s be honest: many of them can be quite dry. This is especially true for those traditional multi-tiered cakes that are more about the show than the taste. Guests often take a slice out of politeness, even if they know it’s not going to be the highlight of the meal.
The dry wedding cake usually features layers of sponge or fruitcake, often covered in fondant or buttercream. While it looks beautiful on the table, the texture can leave much to be desired. People often chew through it, wishing for something more moist and flavorful.
Despite its shortcomings, the dry wedding cake remains a staple at many receptions. Guests may smile and nod, pretending to enjoy it, while secretly hoping for a better dessert option later in the evening.
Ingredients
- 2 cups all-purpose flour
- 1 ½ cups granulated sugar
- 1 cup unsalted butter, softened
- 4 large eggs
- 1 cup milk
- 2 teaspoons baking powder
- 1 teaspoon vanilla extract
- 1/2 teaspoon salt
- 1 cup buttercream frosting
- Fondant for decoration (optional)
Instructions
- Preheat the oven to 350°F (175°C). Grease and flour two 9-inch round cake pans.
- In a mixing bowl, cream together the butter and sugar until light and fluffy. Add eggs one at a time, mixing well after each addition.
- In another bowl, combine flour, baking powder, and salt. Gradually add this to the creamed mixture, alternating with milk. Stir in vanilla extract.
- Pour the batter evenly into the prepared pans. Bake for 25-30 minutes or until a toothpick inserted into the center comes out clean.
- Once baked, let the cakes cool in the pans for 10 minutes before transferring them to a wire rack to cool completely.
- Once cooled, spread buttercream frosting between the layers and on top of the cake. If desired, cover with fondant for a polished look.
Store-Bought Cheesecake
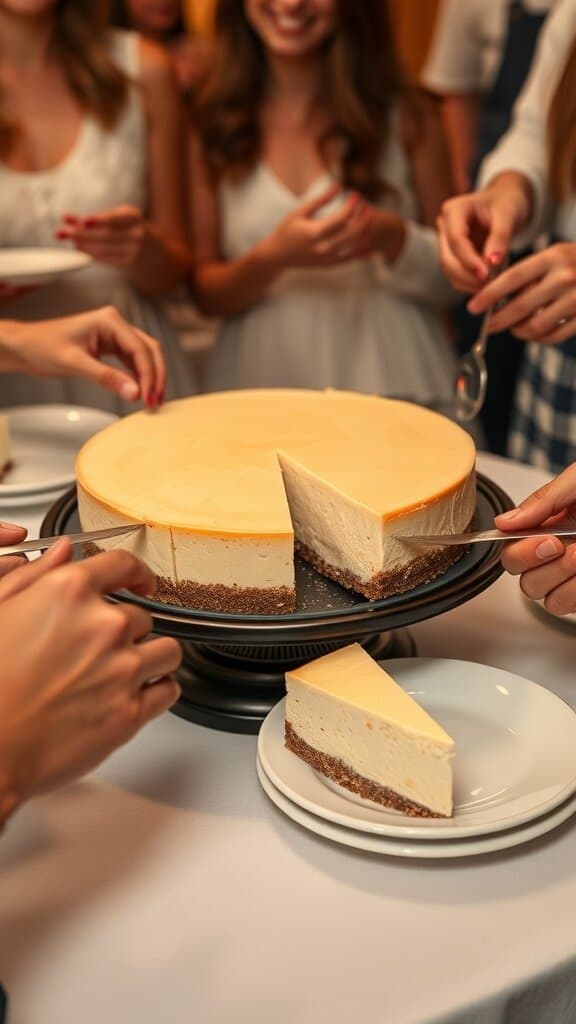
Store-bought cheesecake often makes an appearance at gatherings, and it’s usually met with polite smiles. It’s creamy, sweet, and has that classic graham cracker crust that many love. Yet, how many people truly enjoy it? Often, it’s a dessert people try just to be nice, especially when they’re not sure what else to choose.
In the image, you can see a group of friends gathered around a beautifully presented cheesecake. They’re eagerly serving themselves slices, but you can sense the hesitation. Is it the best option? Maybe not, but it’s there, and everyone feels the need to partake. This scenario is all too common at parties, where the pressure to try something leads to polite bites and forced smiles.
While store-bought cheesecake can be convenient, it often lacks the homemade touch that makes desserts truly special. The texture might be a bit off, and the flavor can be overly sweet or bland. Still, it’s a classic choice for many, and sometimes, it’s just about being part of the moment.
Ingredients
- 2 cups graham cracker crumbs
- 1/2 cup unsalted butter, melted
- 1/4 cup granulated sugar
- 4 (8-ounce) packages cream cheese, softened
- 1 cup granulated sugar
- 1 teaspoon vanilla extract
- 4 large eggs
- 1 cup sour cream
- 1/4 cup all-purpose flour
Instructions
- Preheat the oven to 325°F (160°C).
- In a bowl, mix graham cracker crumbs, melted butter, and sugar. Press this mixture into the bottom of a springform pan to form the crust.
- In a large bowl, beat the cream cheese until smooth. Gradually add sugar and vanilla, mixing well.
- Add eggs one at a time, mixing just until combined. Be careful not to overmix.
- Stir in sour cream and flour until smooth. Pour the filling over the crust.
- Bake for about 60 minutes or until the center is set but still slightly jiggly.
- Turn off the oven and let the cheesecake cool inside for an hour. Then, refrigerate for at least 4 hours before serving.
Mysterious Gelatin Dessert
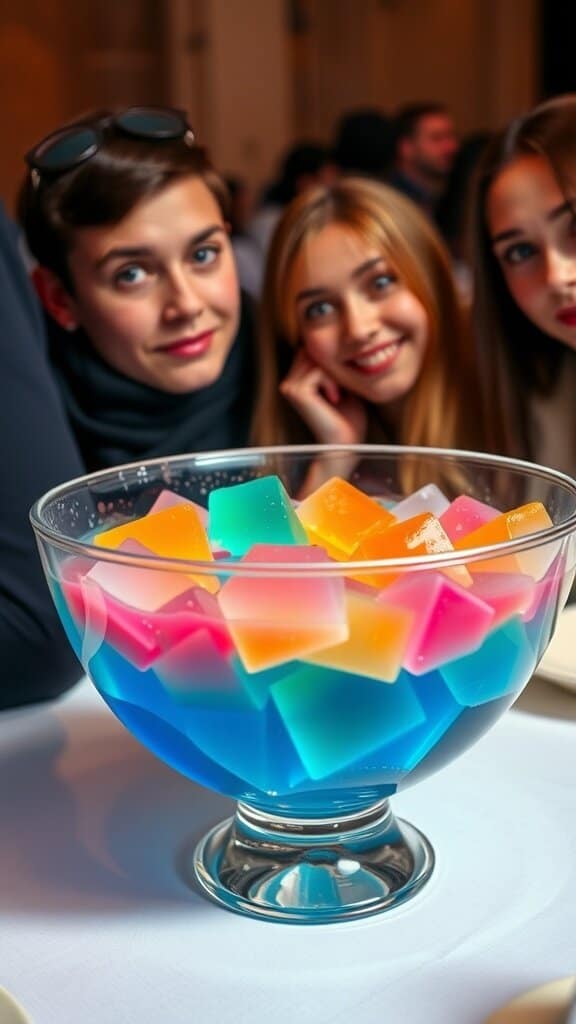
When it comes to desserts, the mysterious gelatin dessert often finds itself on the table. This colorful treat can be both intriguing and a bit intimidating. With its vibrant layers and wobbly texture, it’s hard to resist taking a scoop, even if you’re unsure what’s inside.
Many people try this dessert to be polite, especially at gatherings. It looks fun and festive, making it hard to say no. The bright colors can catch anyone’s eye, and before you know it, you’re reaching for a spoon. It’s a dessert that sparks curiosity and conversation.
Making your own gelatin dessert can be a fun project. You can customize flavors and colors to suit your taste. Plus, it’s a great way to impress guests at your next party!
Ingredients
- 3 cups fruit juice (like grape or orange)
- 1 cup water
- 1 cup granulated sugar
- 4 packets of unflavored gelatin
- 1 cup diced fruit (like strawberries or peaches)
- Food coloring (optional)
Instructions
- Prepare the Juice: In a saucepan, combine the fruit juice, water, and sugar. Heat over medium until the sugar dissolves.
- Add Gelatin: Sprinkle the gelatin over the warm juice mixture. Stir until fully dissolved.
- Layering: Pour half of the mixture into a clear bowl and refrigerate until set, about 1 hour. Once set, add diced fruit on top.
- Finish: Pour the remaining juice mixture over the fruit layer. Refrigerate until fully set, about 2-3 hours.
- Serve: Cut into squares or scoop into bowls. Enjoy your colorful creation!
Pineapple Upside-Down Cake
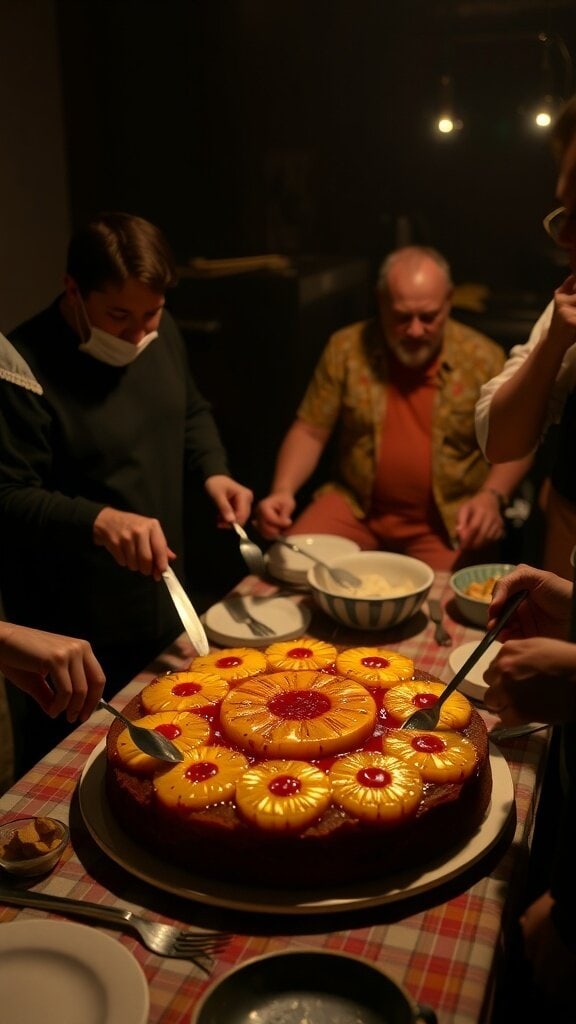
Pineapple Upside-Down Cake is a classic dessert that often finds its way to gatherings, not always because it’s the favorite, but sometimes just to be polite. The sight of this cake is hard to resist, with its caramelized pineapple rings and bright red cherries on top. It’s a nostalgic treat that many people remember from childhood.
In the image, a group of friends is gathered around a beautifully presented Pineapple Upside-Down Cake. They are ready to dig in, each holding a fork or knife, eager to enjoy a slice. The warm, inviting atmosphere suggests that this dessert is part of a friendly get-together, where everyone is just being polite by trying a piece.
This cake is often served at potlucks and family dinners, where it’s more about the tradition than the taste. Some might take a bite out of obligation, but many find themselves pleasantly surprised by its sweet, moist texture and the delightful combination of flavors.
Making a Pineapple Upside-Down Cake is quite simple and can be a fun activity for friends or family. It’s a great way to bring everyone together in the kitchen, and the end result is sure to impress.
Fruitcake at Holiday Gatherings
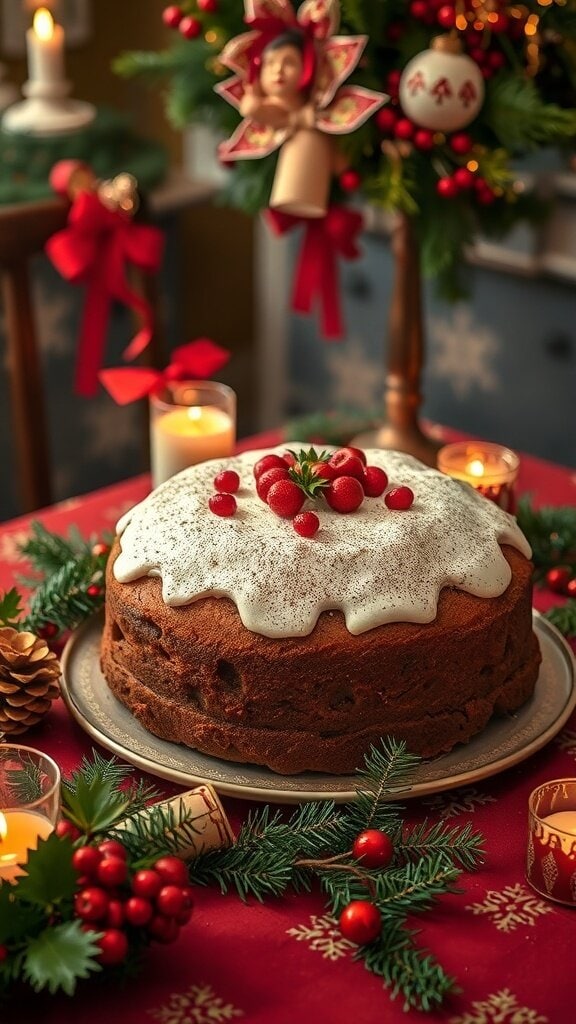
Fruitcake often shows up at holiday gatherings, and it’s a dessert that sparks mixed feelings. Some people love its rich flavors and festive appearance, while others take a polite bite just to be courteous. The image of a beautifully decorated fruitcake, topped with a layer of icing and adorned with berries, captures the essence of this seasonal treat.
This cake is dense and packed with dried fruits, nuts, and spices, making it a unique addition to any dessert table. Its traditional role at celebrations often leads to people feeling obligated to try it, even if they aren’t fans. The bright colors and festive decorations can make it hard to resist, even for those who might not enjoy the taste.
Despite its reputation, fruitcake has a long history and is cherished in many cultures. It can be a conversation starter at gatherings, with stories shared about family recipes or holiday traditions. So, whether you love it or just take a slice to be polite, fruitcake remains a staple during the holidays.
Ingredients
- 2 cups mixed dried fruits (raisins, currants, cherries)
- 1 cup chopped nuts (walnuts, pecans)
- 1 cup unsalted butter, softened
- 1 cup brown sugar
- 4 large eggs
- 2 cups all-purpose flour
- 1 teaspoon baking powder
- 1 teaspoon ground cinnamon
- 1/2 teaspoon ground nutmeg
- 1/4 teaspoon salt
- 1/4 cup orange juice
- 1/4 cup brandy (optional)
- 1 cup marzipan (for decoration)
- 1 cup royal icing (for decoration)
Instructions
- Preheat your oven to 325°F (160°C). Grease and line a 9-inch round cake pan.
- In a large bowl, cream together the butter and brown sugar until light and fluffy. Add the eggs one at a time, mixing well after each addition.
- In another bowl, combine the flour, baking powder, cinnamon, nutmeg, and salt. Gradually add this to the butter mixture, alternating with the orange juice and brandy.
- Fold in the mixed dried fruits and chopped nuts until evenly distributed.
- Pour the batter into the prepared cake pan and smooth the top. Bake for about 1 hour, or until a toothpick inserted in the center comes out clean.
- Let the cake cool in the pan for 10 minutes before transferring it to a wire rack to cool completely.
- Once cooled, cover the cake with marzipan and then with royal icing for decoration. Let it set before serving.
Lemon Meringue Pie with Soggy Crust
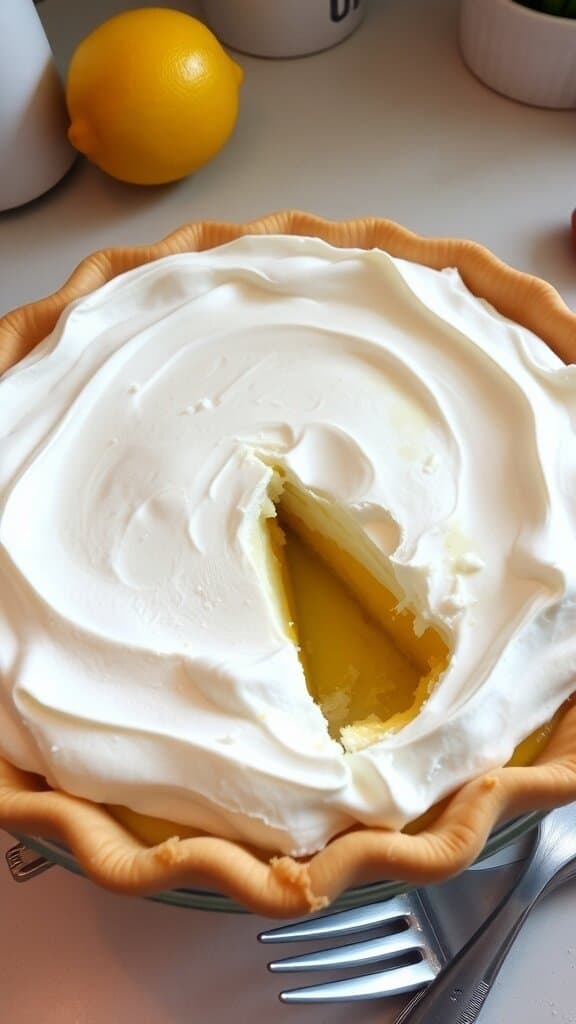
Lemon meringue pie is a classic dessert that many people feel obligated to try, even when the crust is less than perfect. The image shows a pie with a fluffy layer of meringue on top, but the crust looks a bit soggy. This can happen when the filling is too wet or the pie is not baked long enough. Despite its appearance, this dessert often gets a polite nod from guests who don’t want to offend the baker.
The bright yellow filling is tangy and sweet, a delightful contrast to the airy meringue. It’s a dessert that many enjoy, but the soggy crust can be a letdown. Still, people often take a slice, smile, and say it’s good, even if they’re secretly wishing for a crisper crust.
Next time you’re faced with a lemon meringue pie that doesn’t quite hit the mark, remember that it’s the thought that counts. Baking can be tricky, and everyone appreciates the effort that goes into making a homemade treat.
Ingredients
- 1 pre-made pie crust
- 1 cup granulated sugar
- 2 tablespoons cornstarch
- 1/4 teaspoon salt
- 1 1/2 cups water
- 3 large egg yolks, beaten
- 1/2 cup fresh lemon juice
- 2 tablespoons butter
- 1 teaspoon lemon zest
- 3 large egg whites
- 1/4 teaspoon cream of tartar
- 1/2 cup granulated sugar (for meringue)
Instructions
- Preheat your oven to 350°F (175°C).
- In a saucepan, mix sugar, cornstarch, and salt. Gradually add water and cook over medium heat until thickened.
- Stir in beaten egg yolks, lemon juice, butter, and lemon zest. Cook for another 2 minutes, then pour into the pie crust.
- In a separate bowl, beat egg whites and cream of tartar until soft peaks form. Gradually add sugar and beat until stiff peaks form.
- Spread meringue over the lemon filling, sealing the edges. Bake for about 10-15 minutes until the meringue is golden.
- Let the pie cool before serving. Enjoy your lemon meringue pie, soggy crust and all!
Vegan Brownies with Unusual Ingredients
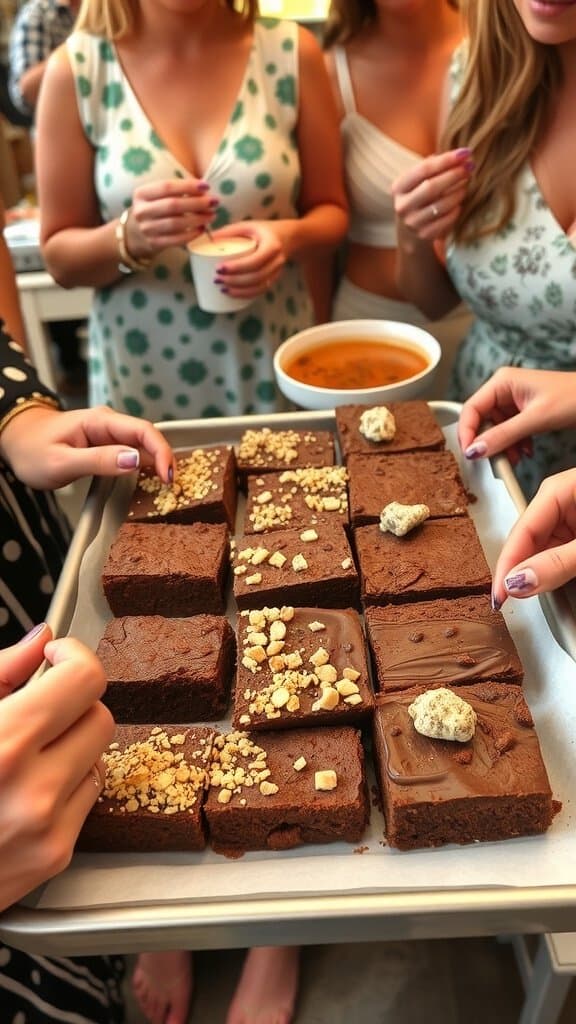
Vegan brownies are a delightful treat that often surprise people with their rich flavor and texture. The image shows a group of friends gathered around a tray of brownies, each topped with unique ingredients like crushed nuts and cookie crumbles. These brownies might look traditional, but they pack a punch with some unusual vegan ingredients that make them stand out.
Many people try vegan desserts out of curiosity or to be polite when offered. These brownies are a perfect example. They look tempting, and the toppings add a fun twist. The combination of flavors can make anyone forget they are vegan!
Using ingredients like black beans or avocado can create a moist and fudgy texture. Plus, they are often sweetened with natural sugars like maple syrup or dates, making them a healthier option. If you haven’t tried vegan brownies yet, you might be missing out on a delicious experience!
Ingredients
- 1 can black beans, rinsed and drained
- 1/2 cup almond butter
- 1/4 cup maple syrup
- 1/4 cup cocoa powder
- 1 teaspoon vanilla extract
- 1/2 teaspoon baking powder
- 1/4 teaspoon salt
- 1/2 cup dark chocolate chips
- Optional toppings: crushed nuts, cookie crumbles, or coconut flakes
Instructions
- Preheat the oven to 350°F (175°C) and grease an 8×8 inch baking pan.
- In a food processor, blend the black beans, almond butter, maple syrup, cocoa powder, vanilla extract, baking powder, and salt until smooth.
- Stir in the dark chocolate chips by hand.
- Pour the mixture into the prepared baking pan and spread evenly.
- Bake for 25-30 minutes or until a toothpick comes out clean.
- Let cool, then add your favorite toppings before slicing into squares.
Coconut Macaroons with Unpleasant Texture
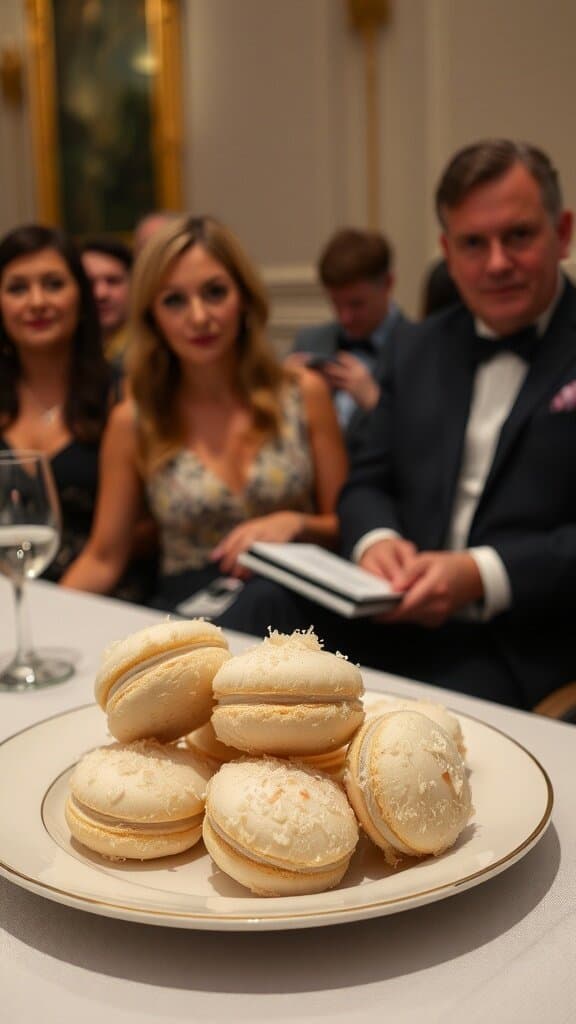
Coconut macaroons often find their way onto dessert tables, but not everyone is a fan. These treats, while visually appealing, can sometimes have a texture that leaves much to be desired. The chewy coconut combined with a dense, sticky base can be off-putting for some. It’s a dessert that people might try just to be polite, especially at gatherings where they don’t want to offend the host.
In the image, we see a plate of coconut macaroons, elegantly presented. They sit there, looking inviting, but the truth is that their texture can be a dealbreaker. The guests in the background might be contemplating whether to take a bite or politely decline. It’s a classic case of dessert diplomacy!
For those brave enough to try, here’s a simple recipe to make your own coconut macaroons. Just remember, texture can be a tricky thing!
Ingredients
- 2 2/3 cups shredded coconut
- 1/2 cup sweetened condensed milk
- 1 teaspoon vanilla extract
- 2 large egg whites
- 1/4 teaspoon salt
- 1/4 cup all-purpose flour (optional, for texture)
Instructions
- Preheat your oven to 325°F (165°C) and line a baking sheet with parchment paper.
- In a large bowl, mix the shredded coconut, sweetened condensed milk, and vanilla extract until well combined.
- In another bowl, beat the egg whites and salt until soft peaks form. Gently fold the egg whites into the coconut mixture.
- If using, add the flour to the mixture for a slightly different texture.
- Drop spoonfuls of the mixture onto the prepared baking sheet, spacing them about 1 inch apart.
- Bake for 20-25 minutes or until the tops are golden brown.
- Let them cool on the baking sheet for a few minutes before transferring to a wire rack to cool completely.


