Welcome to Bonsai Mary – we’ve been around since 2009 and love all kinds of plants. My name is Mary Smith, a seasoned gardener and bonsai artist and author of BonsaiMary.com. I love nature and any new plant I haven’t seen before!
Reach out to me with any questions you have on plant care guides and if you need help purchasing a plant you’ve had troubles getting your hands on! We help collectors source exotic houseplants!
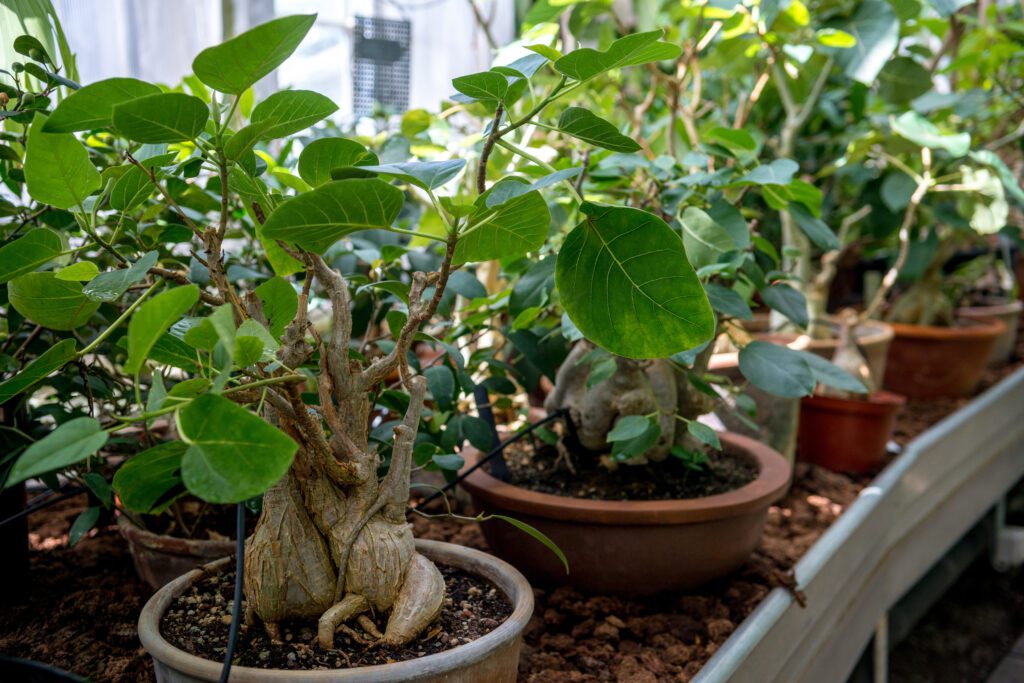
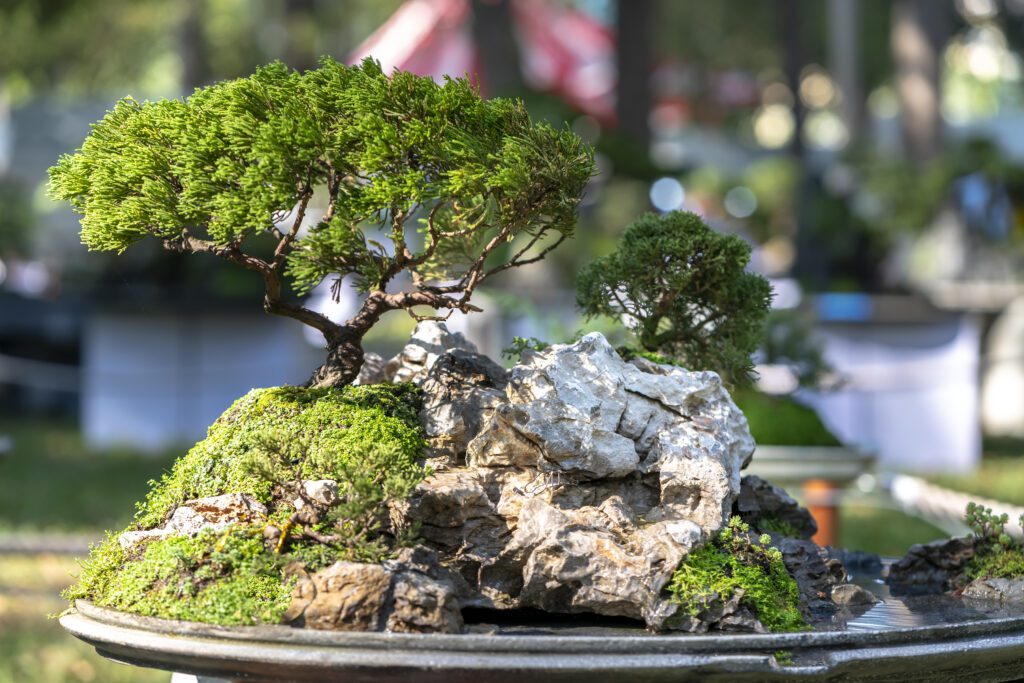
Ultimately, growing bonsai involves creating and growing miniaturized trees that are a realistic representation of nature. Unlike what many might believe, bonsai aren’t genetically dwarfed trees. As such, you can use any tree species to grow your bonsai.
The art form has existed for thousands of years while sticking to the same goals and ideals. This is our passion.
The Origin Of “Bonsai”
Bonsai, frequently misspelled as bon-sai or banzai, is a Japanese word when translated, means “planted in a container.” This horticultural art form stems from early Chinese horticultural traditions. Bonsai has redeveloped traditional Chinese horticulture and blended it with Japanese Zen Buddhism.
Bonsai Art
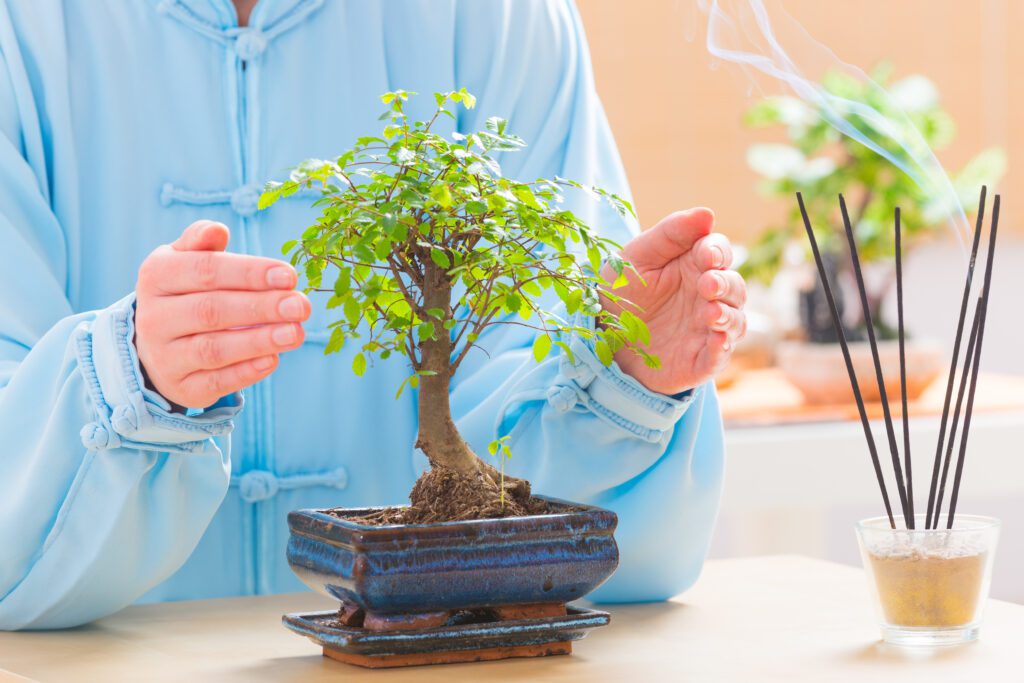
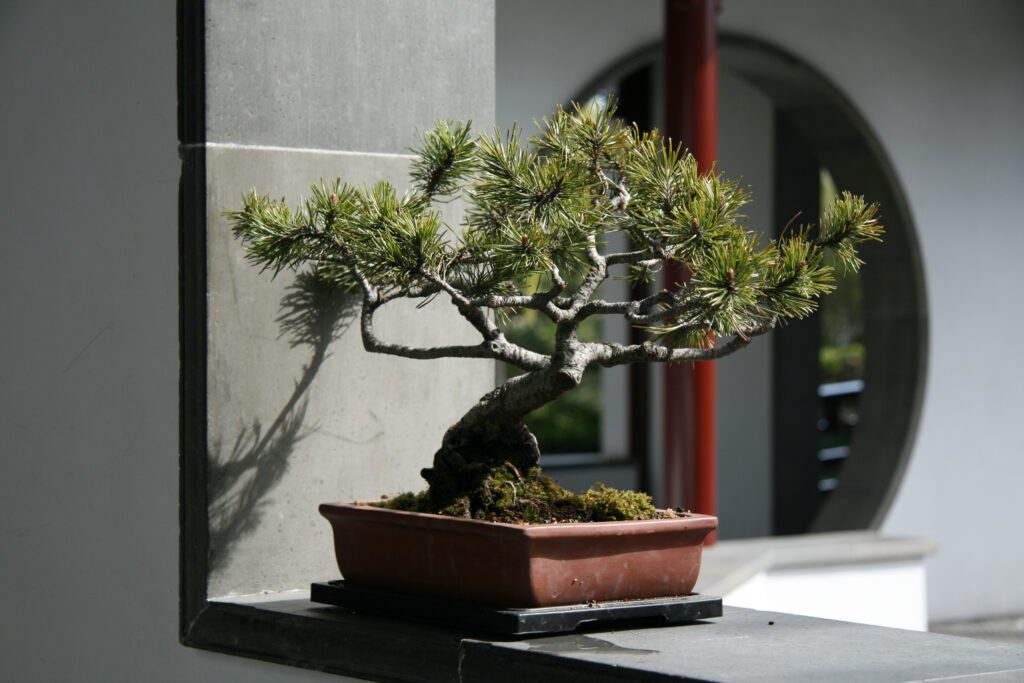
At the core of the small creations that are bonsai is art. For instance, branches are removed while the tops of the plants are trimmed. Trunks and branches are temporarily wired, giving rise to new shapes. As with most art forms, there are rules/guidelines to follow.
The Basics
Aside from shaping and designing, you also have to maintain the bonsai. Ultimately, you want the plant to be small and appear old while staying alive. And since they are grown in small vessels, taking care of bonsai can be challenging.
Where Did Bonsai Get Started?
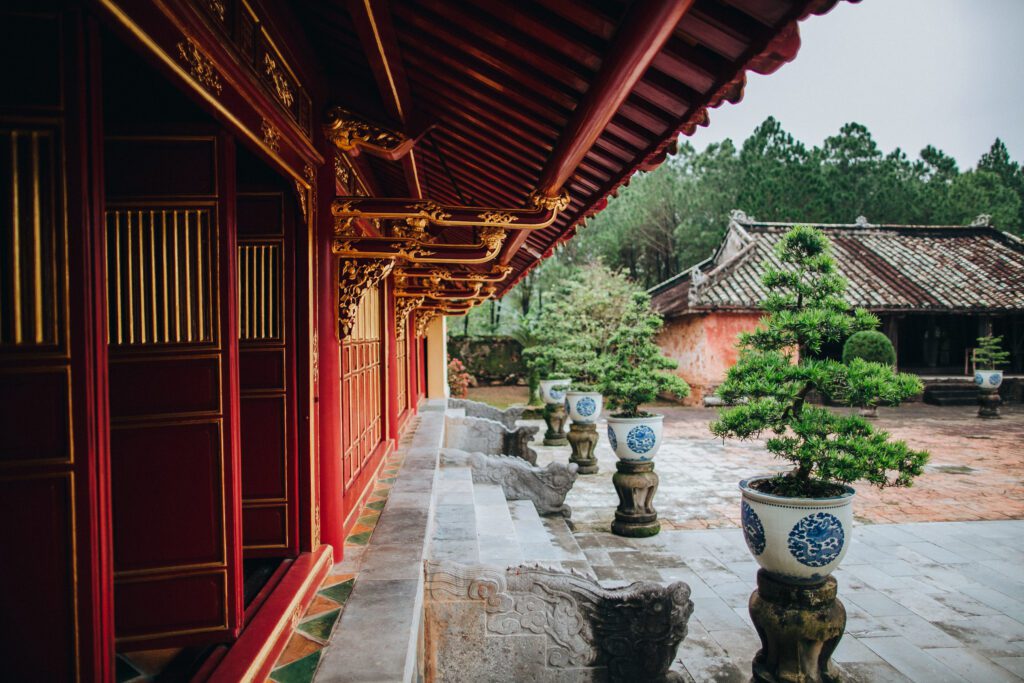
China is known for being the origin of bonsai trees’ art, where they are known as Penjing. The Chinese tend to use rocks and figurines while constructing their composition. In Japan, bonsai is considered a mature art form by many Chinese. Crucially, it has gained global acclaim as a pastime. In Asia, there are bonsai for hundreds of years and are maintained for generations as family heirlooms. And today, there are many more recent and spectacular bonsai tree species being given care.
Bonsai Size Classifications
The main goal when creating bonsai is to produce a realistic depiction of nature. When bonsai trees get smaller, they increasingly become abstract rather than resembling nature precisely. There are several classifications of bonsai among the masses. While the exact size classification is still disputed, they always help us understand bonsai’s botanical aspects and aesthetics. The original category considered the number of men it took to lift a tree.
Bonsai As Horticulture
Aside from shaping and designing, you also have to maintain the bonsai. Ultimately, you want the plant to be small and appear old while staying alive. And since they are grown in small vessels, taking care of bonsai can be challenging.
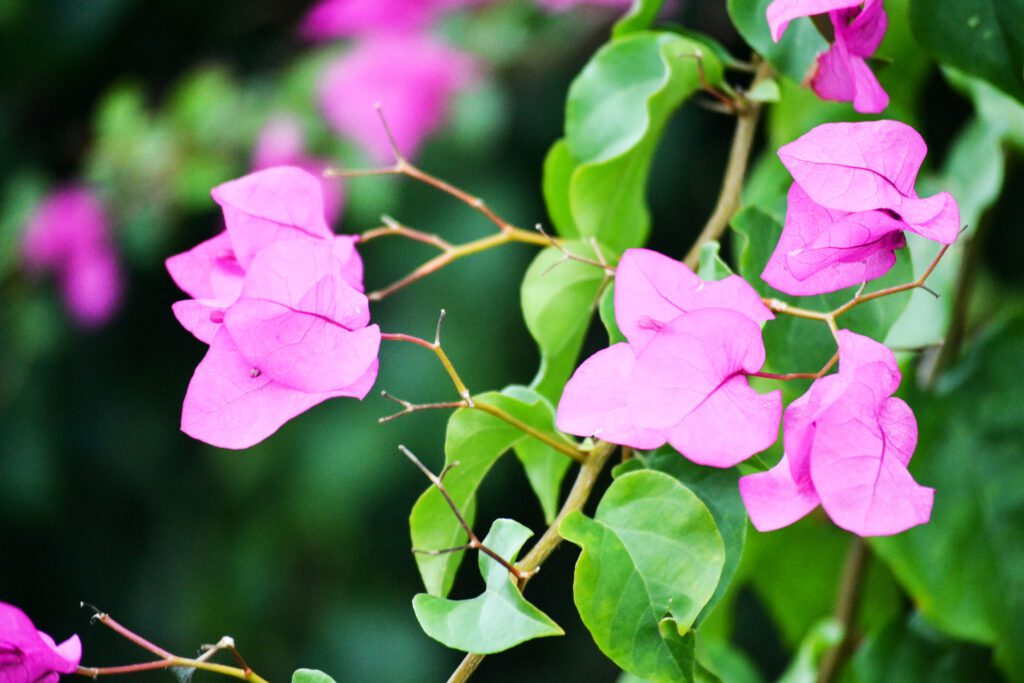
Bonsai Bougainvillea
One of the most popular bonsai is the Bougainvillea. Its care is basic: lots of sunlight and not too much water.
Between waterings, allow the top of the soil to become dry to the touch. Especially during the first stages of bonsai training, you could have problems if you water it as much as many other bonsai.
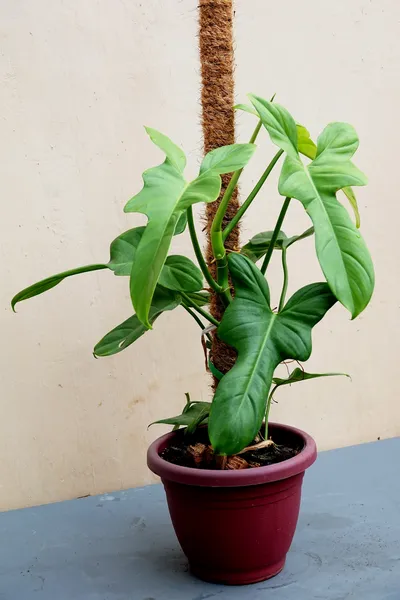
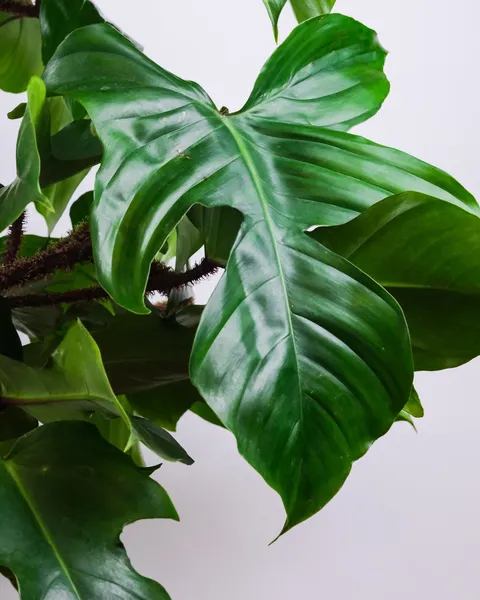
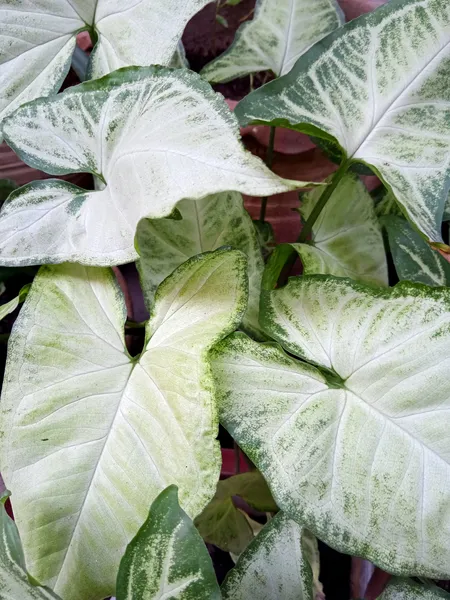
Discover the secrets to philodendronswith our comprehensive care guides. Whether you’re a seasoned plant parent or just starting your green journey, our expert tips and insights will help you nurture these beautiful foliage plants to perfection. From choosing the right potting mix to providing the ideal lighting conditions, we’ve got you covered.
Are you curious about philodendrons and seeking answers to commonly asked questions? Look no further! Our comprehensive Philodendron FAQ section is here to provide you with expert insights and helpful tips.
Wondering about the ideal watering schedule or the best way to propagate your philodendron? Interested in learning about the different varieties and their specific care requirements? Our extensive collection of frequently asked questions covers all these topics and more.
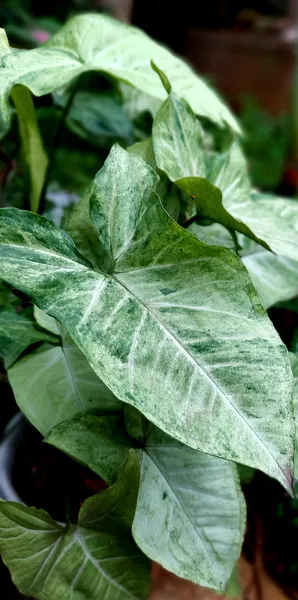
Unlock the mysteries of flourishing syngoniums with our in-depth care guides. Whether you’re a veteran green thumb or embarking on your plant journey, our seasoned advice and insights will guide you in giving these captivating foliage plants the best care. From selecting the perfect soil blend to ensuring the optimal light exposure, we’re here to assist you every step of the way.
Have questions about syngoniums and eager to find reliable answers? You’ve come to the right place! Dive into our all-inclusive Syngonium FAQ hub for a wealth of expert knowledge and valuable advice.
Puzzled about the perfect watering routine or the most effective propagation techniques for your syngonium? Keen on discovering the diverse types and their unique nurturing needs? Browse our vast array of frequently posed questions, addressing these subjects and beyond.
Unearth the secrets of thriving anthuriums with our detailed Anthurium care guides. Whether you’re an established plant aficionado or just setting out on your botanical voyage, our expert guidance and knowledge will steer you towards nurturing these striking foliage wonders. From pinpointing the ideal soil composition to fine-tuning the perfect light conditions, we stand ready to support you at every turn.
Have questions about anthuriums and seeking dependable answers? You’ve landed in the right spot! Explore our comprehensive Anthurium FAQ center brimming with expert perspectives and useful guidance.
Uncertain about the right hydration patterns or the prime methods for propagating your anthurium? Intrigued by the various species and their distinct care protocols? Sift through our extensive compilation of commonly inquired topics, tackling these matters and so much more
Learning Bonsai
Bonsai involves the use of numerous miniaturization techniques that include: – Pruning and wiring brunches, – Pinching buds, and – Careful restriction of fertilizer (without negatively impacting health and growth).
Typically, a bonsai tree’s height is restricted to under 4 feet (approximately a meter). It is not to mean that bonsai are genetically dwarfed trees. However, plants with smaller leaves make the composition of dwarf plants a tad easier to design.
Any plant can be used to create a bonsai as long it meets the criteria: – It must have a woody trunk or stem, – Grow actual branches, – It can be successfully grown in a container that restricts its roots/food storage capacity and capability, and – Has reducible or smaller leaves.
Look at the trees, hedges, bushes, and thickets around you, whether at your local park, in your yard, planted in nurseries, or thriving wild. They are all starter materials. When carefully selecting and collecting the plant during appropriate dormant or growing seasons, you can start your composition easily. For native plants, you can grow outdoors. When you choose plants that thrive in tropical climates, you will have to give your bonsai some protection from the elements prevalent in temperate zones.
Penjing [Chinese Bonsai]
Penjing is an ancient Chinese tradition that dates back more than 1,000 years. Penjing uses plants, soil, water, and art to create potted gardens. It compresses all the beauty of the universe into small pots and expresses human emotion and artistic beauty.
Contact Us
Have something in mind? Get in touch. We love seeing your bonsai pictures and even more to share them with the world!