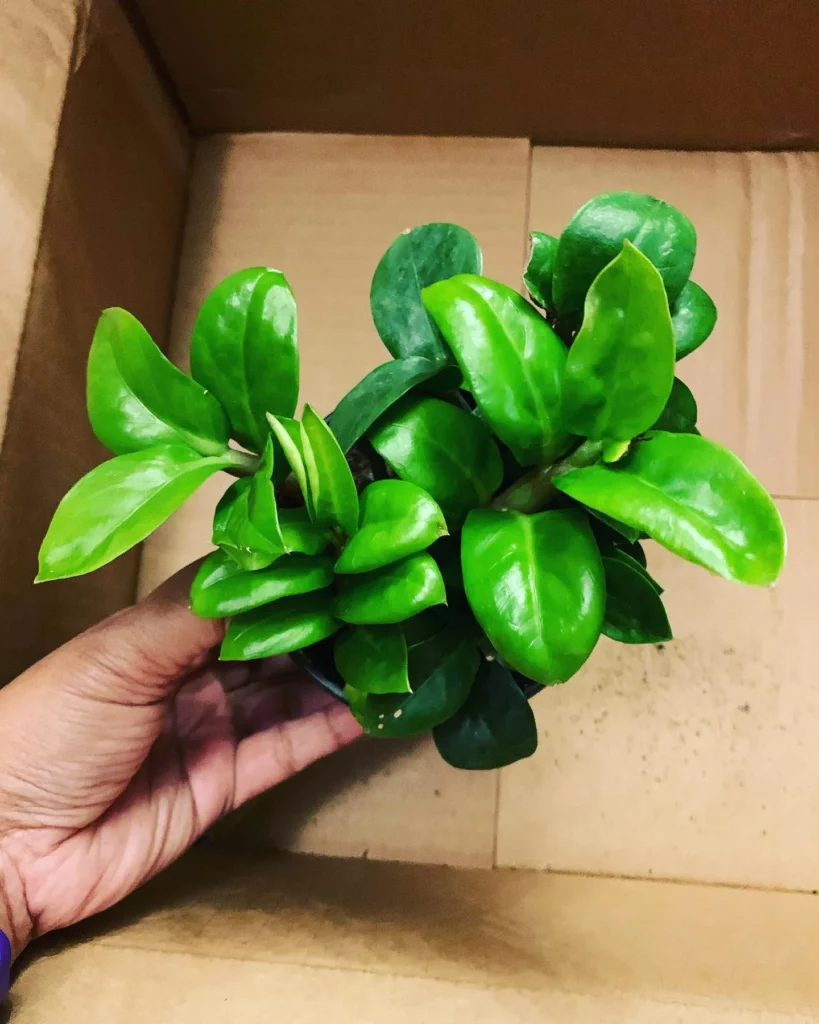
To repot a ZZ plant safely, gently remove it from its current pot, detangle its roots, then place it in a slightly larger pot with fresh, well-draining potting mix.
Repotting a ZZ plant promotes health, addressing issues like wobbly growth, roots protruding through drainage holes, or pots that crack under pressure. Opt for a marginally larger container to prevent root suffocation in overly moist soil.
The process entails uprooting carefully, trimming roots as needed, refreshing or replacing soil, and post-repot care that includes strategic placement, regulated watering, and a pause on fertilization to encourage acclimatization.
Signs that indicate your ZZ plant needs repotting

There are a few signs to look out for to determine if your ZZ plant needs repotting. One of the telltale signs is wobbly growth, where your plant seems unstable or leans to one side.
This can indicate that the roots have outgrown the pot and need more room to spread out. Another sign is roots growing out of the drainage holes. If you notice roots creeping out, it’s a clear indication that your ZZ plant is root-bound and needs repotting.
Cracked pots are another indicator that your ZZ plant needs a new home. When the roots outgrow the pot, they can exert pressure on the pot walls, causing them to crack.
If you see any cracks in the pot, it’s time to repot your ZZ plant to ensure its continued health and growth.
By paying attention to these signs, you can determine if your ZZ plant needs repotting and take the necessary steps to provide it with a fresh environment for optimal growth.
| Signs | Indications |
|---|---|
| Wobbly growth | Roots have outgrown the pot |
| Roots growing out of drainage holes | ZZ plant is root-bound |
| Cracked pots | Roots exerting pressure on pot walls |
Once you have identified these signs, you can confidently move forward with the repotting process to ensure the continued well-being of your ZZ plant.
Options for repotting your ZZ plant

There are different options available for repotting your ZZ plant, depending on your specific needs and preferences. Whether you want to provide more space for your plant’s roots or simply refresh the soil, there is a method that suits you.
Let’s explore the safe methods for repotting a ZZ plant:
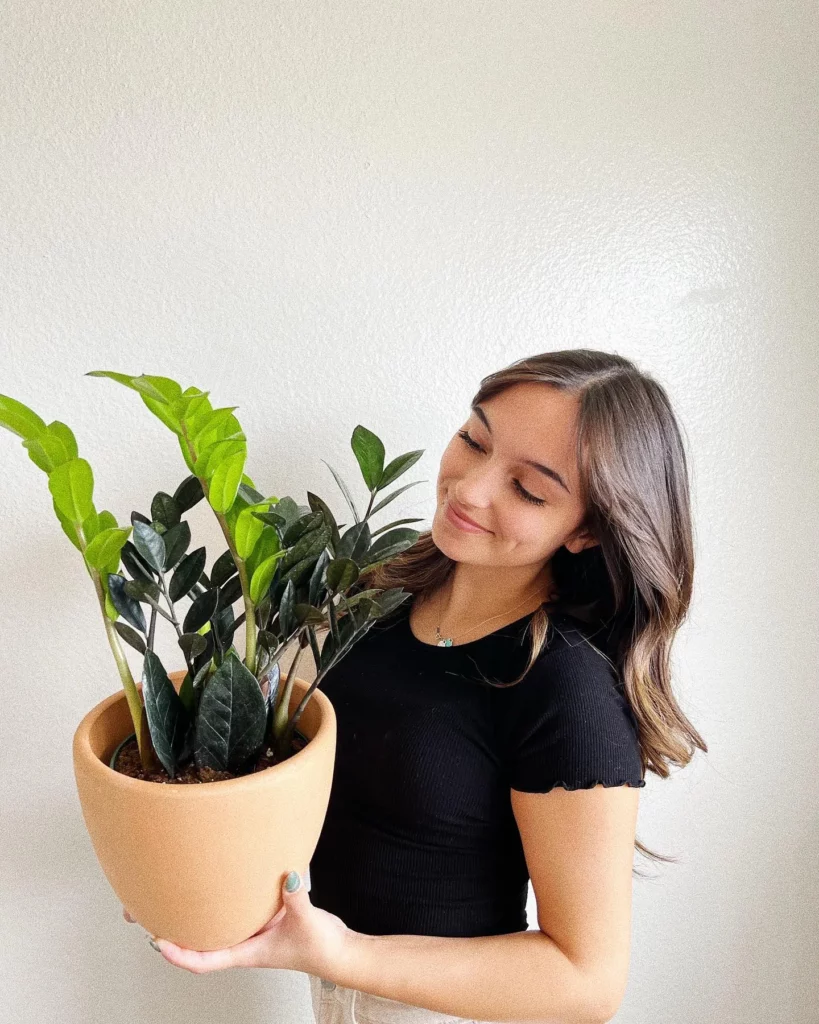
Using a bigger pot
If you notice that your ZZ plant has outgrown its current pot and the roots are becoming crowded, it may be time to transfer it to a larger container. When selecting a new pot, make sure to choose one that is only slightly larger than the previous pot.
This will prevent the plant from sitting in excessively wet soil and potentially rotting. Use a well-draining potting mix to promote healthy root growth.
Using the same pot with new soil
If you prefer to keep your ZZ plant in its current pot but want to refresh the soil, this method is ideal. Carefully remove the plant from its pot, gently shake off the old soil, and replace it with fresh potting mix.
Remember to loosen the roots and remove any dead or rotten ones before repotting. This option allows you to maintain the plant’s size while providing it with fresh nutrients.
Changing the top layer of soil
For ZZ plants that are still thriving in their current pots but have compacted soil or salt build-up, changing the top layer of soil can be beneficial. Carefully scoop out the top 1-2 inches of soil and replace it with fresh potting mix.
This method helps improve soil aeration and prevents the accumulation of harmful salts.
| Repotting Method | Advantages | Considerations |
|---|---|---|
| Using a bigger pot | Allows for increased root growth | Pot must not be excessively larger to prevent overwatering |
| Using the same pot with new soil | Allows for plant size maintenance | Requires careful removal of old soil and root inspection |
| Changing the top layer of soil | Improves soil aeration | Suitable for plants thriving in current pots |
Step-by-step guide for repotting your ZZ plant
Repotting a ZZ plant requires careful attention to detail to avoid damaging its delicate roots. To ensure a successful repotting process, follow these step-by-step instructions:
| Step | Description |
|---|---|
| 1 | Water the ZZ plant a day or two before repotting. This will help loosen the soil and make it easier to remove the plant from its current pot. |
| 2 | Gently remove the plant from its pot by loosening the soil around the edges and tapping on the outside. Be careful not to pull or tug on the plant, as this can damage its roots. |
| 3 | Inspect the roots and trim any dead or rotten ones using clean and sharp scissors or shears. This will promote healthy growth in the new pot. |
| 4 | Clean the pot thoroughly to remove any old soil or debris. This will help prevent the accumulation of harmful pathogens or pests. |
| 5 | Add a layer of fresh potting soil to the bottom of the new pot. The pot should only be slightly larger than the previous one to avoid suffocating the plant in wet soil. |
| 6 | Place the ZZ plant in the center of the new pot, making sure it is positioned at the same depth as before. Gently add more potting soil around the roots, firming it with your fingers to ensure stability. |
| 7 | Water the newly repotted ZZ plant thoroughly. This will help settle the soil and remove any air pockets around the roots. |
After repotting your ZZ plant, it’s important to provide proper care to help it adjust to its new environment:
- Place the plant in a bright but sheltered location, away from direct sunlight. ZZ plants prefer indirect light.
- Water the plant according to a regular schedule, allowing the soil to dry out slightly between waterings. Overwatering can lead to root rot.
- Avoid fertilizing the plant immediately after repotting. Give it some time to recover before introducing any additional nutrients.
Aftercare for your repotted ZZ plant

Proper aftercare is essential to help your repotted ZZ plant establish and thrive. After repotting, it’s important to provide the right environment and care to support your plant’s growth. Here are some important tips to follow:
- Placement: Find a bright spot for your ZZ plant, but make sure it is sheltered from direct sunlight. ZZ plants prefer bright, indirect light.
- Watering: Follow a watering schedule to avoid overwatering or underwatering. ZZ plants are known for their ability to tolerate periods of drought, so be cautious not to water them too frequently.
- Fertilizing: Avoid feeding your repotted ZZ plant immediately after repotting. Give it some time to adjust to its new environment before introducing fertilizer.
Additionally, here are a few more tips to help your ZZ plant thrive:
- Monitor the moisture level of the soil by checking it with your finger. ZZ plants prefer slightly dry soil, so make sure not to keep the soil too wet.
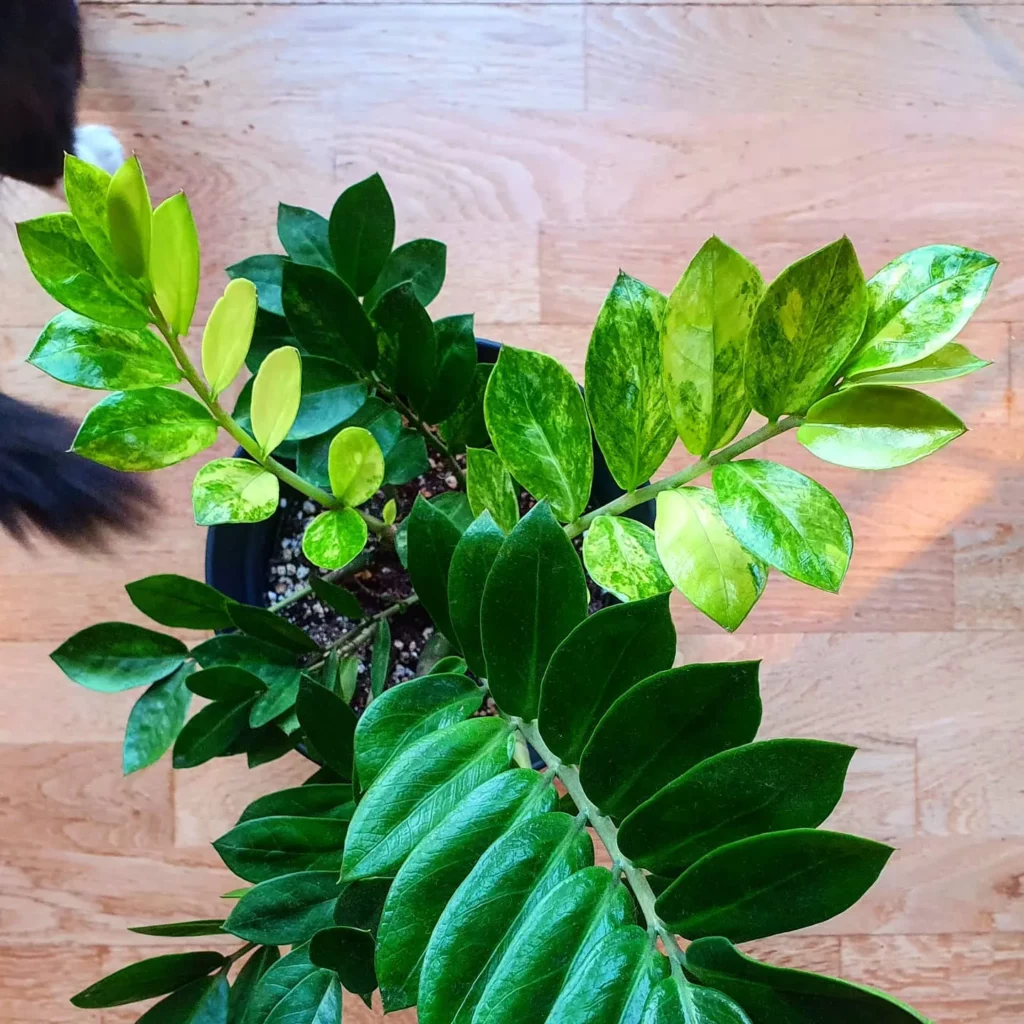
- Keep an eye out for any signs of stress or problems, such as yellowing leaves or slowed growth. Address any issues promptly to prevent further damage.
- Regularly dust the leaves with a soft cloth or sponge to keep them clean and free from dust build-up, which can hinder their ability to photosynthesize.
- Rotate your ZZ plant every few weeks to ensure even growth and prevent it from leaning towards the light source.
Common Mistakes to Avoid When Repotting a ZZ Plant

Repotting a ZZ plant can be a delicate process, and there are common mistakes that you should avoid to prevent any harm to your plant.
By being mindful of these mistakes, you can ensure a successful repotting experience and help your ZZ plant thrive.
1. Using excessively large pots: One of the most common mistakes when repotting a ZZ plant is choosing a pot that is too large. While it may seem logical to give your plant more room to grow, a pot that is too big can lead to excessive moisture retention, which can cause root rot.
It is best to choose a pot that is only slightly larger than the previous one to avoid suffocating the plant in wet soil.
2. Overwatering: Another mistake to avoid is overwatering your ZZ plant after repotting. While it’s important to provide adequate moisture, overwatering can lead to root rot and other issues.
It’s crucial to follow a watering schedule and allow the soil to dry out slightly between waterings. Remember, ZZ plants are drought-tolerant and do not require frequent watering.
3. Damaging the roots during repotting: When repotting your ZZ plant, it’s essential to handle the roots with care. Roughly handling or damaging the roots can hinder the plant’s ability to absorb water and nutrients, leading to stunted growth.
Take your time and gently separate the roots if needed, ensuring they are not tangled or damaged in the process.
Conclusion
Safely repotting your ZZ plant is essential for its long-term well-being and vitality. By paying attention to the signs that indicate the need for repotting, you can ensure that your plant has enough room to grow and thrive.
Wobbly growth, roots growing out of drainage holes, or cracked pots are all indicators that it’s time to repot your ZZ plant.
When repotting, you have three options to consider. You can choose to use a slightly bigger pot, use the same pot with fresh soil, or simply change the top layer of soil.
It’s important to choose a pot that is only slightly larger than the previous one to avoid suffocating the plant in wet soil. The recommended size is 1-2″ larger than the previous pot.
To repot your ZZ plant safely, water the plant to loosen the soil from the pot. Gently remove the pot by loosening the soil and tapping on the outside. Control the roots by removing any dead or rotten roots.
Clean the pot thoroughly before adding fresh soil to the bottom. Place the plant in the center of the pot and add soil around it, firming it gently with your fingers.
After repotting, place the plant in a bright but sheltered location, follow a watering schedule, and refrain from feeding the plant immediately.
By following these steps and providing proper aftercare, you can ensure the successful repotting of your ZZ plant. Avoid common mistakes such as using excessively large pots, overwatering, or damaging the roots during the repotting process.
With the right knowledge and care, your ZZ plant will continue to thrive and bring beauty to your indoor space for years to come.
Make sure to check out our article on What Kind Of Soil Is Best For ZZ Plants?. And after reading that ZZ Plant article, check out our article on Can ZZ Plants Thrive In Low Light Conditions?.
FAQ
Q: What are the signs that indicate my ZZ plant needs repotting?
A: Signs that indicate your ZZ plant needs repotting include wobbly growth, roots growing out of drainage holes, or cracked pots.
Q: What are the options for repotting my ZZ plant?
A: You have three options for repotting your ZZ plant: using a bigger pot, using the same pot with new soil, or changing the top layer of soil.
Q: What is the recommended pot size when repotting a ZZ plant?
A: It is important to choose a pot that is only slightly larger than the previous one. A pot that is 1-2″ larger is typically recommended.
Q: Can you provide a step-by-step guide for repotting a ZZ plant?
A: Certainly! To repot a ZZ plant, water the plant to loosen the soil from the pot, gently remove the pot by loosening the soil and tapping on the outside, do a root control by removing dead or rotten roots, clean the pot, add soil to the bottom of the pot, place the plant on the soil and center it, and add soil around the plant, firming it with your fingers.
Q: What should I do after repotting my ZZ plant?
A: After repotting, place the plant in a bright but sheltered location, water it according to schedule, and refrain from feeding it immediately after repotting.
Q: What are some common mistakes to avoid when repotting a ZZ plant?
A: Common mistakes to avoid include using excessively large pots, overwatering, and damaging the roots during the repotting process.