

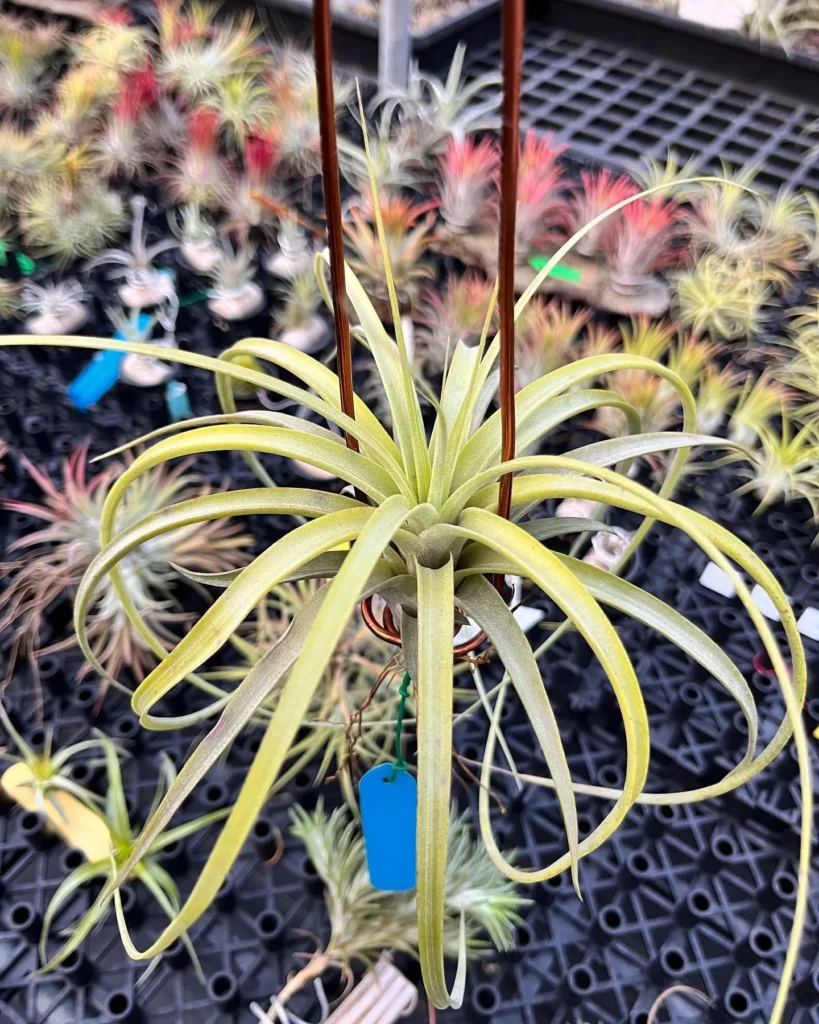
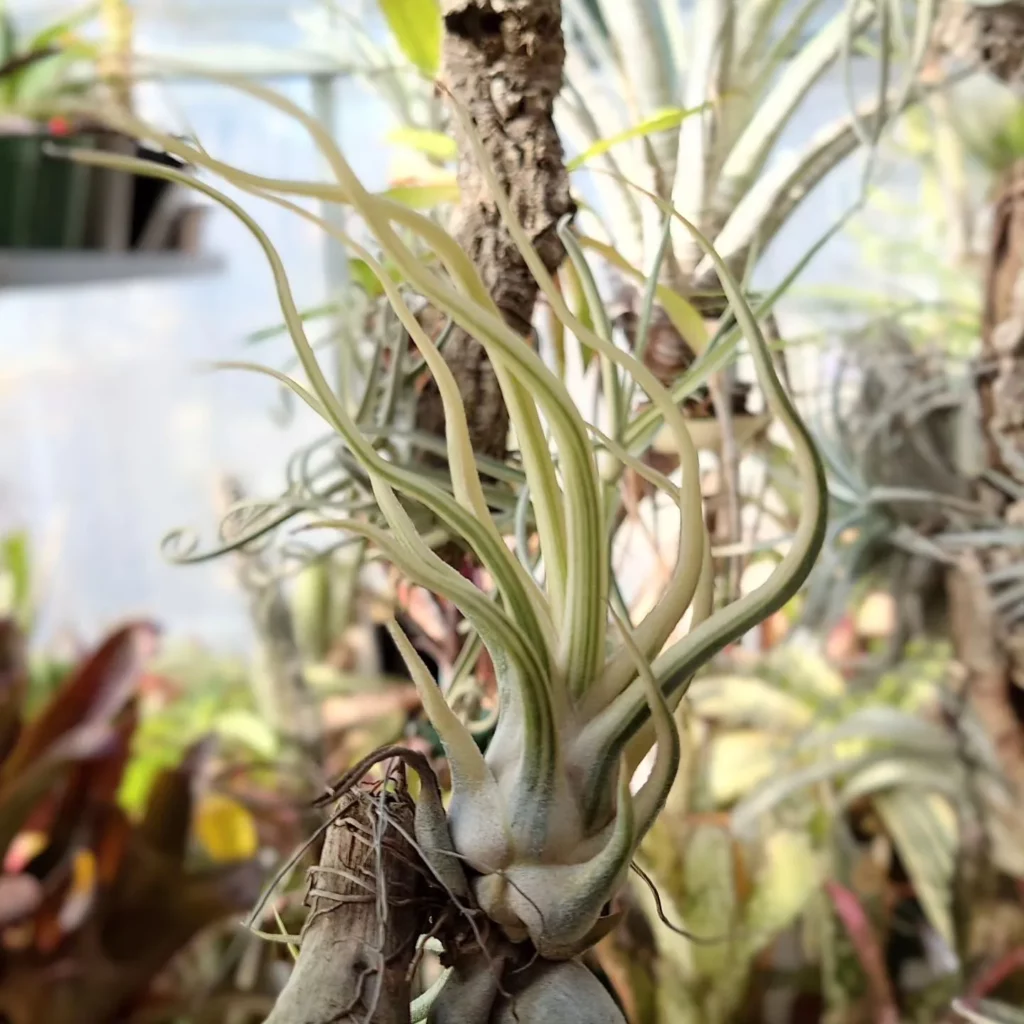
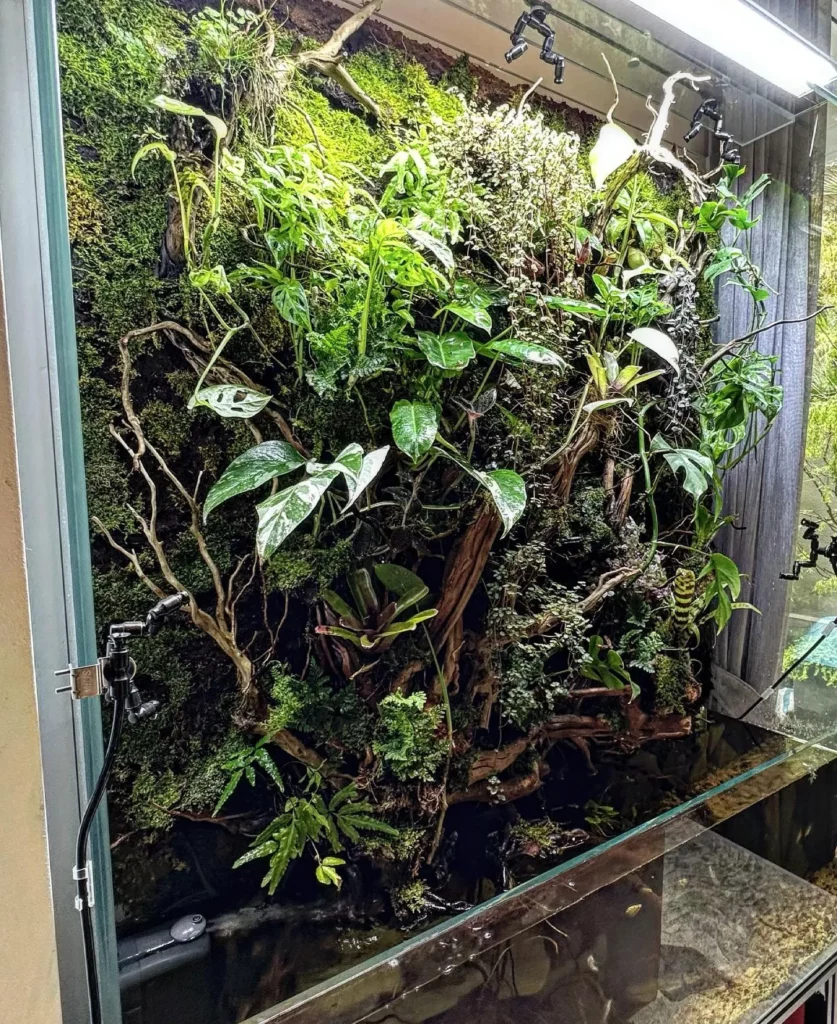
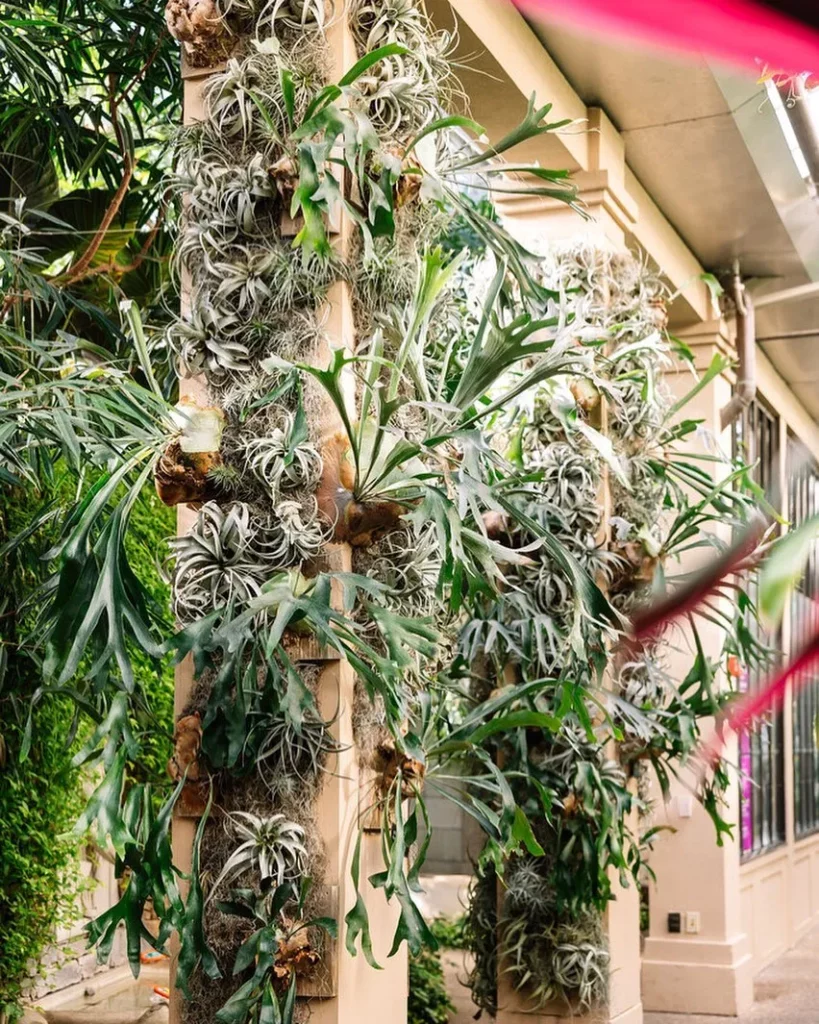
Bromeliads are an incredibly diverse family of plants, with over 3,000 unique species. Their stunning striped or patterned foliage and colorful flowerheads make them a favorite choice for indoor gardens. These fascinating plants can be epiphytes, growing on trees in the wild and collecting water in their leafy cups, or they can be airplants, absorbing moisture from the air.
To ensure the well-being of your bromeliads, they require bright indirect light or direct sunlight, depending on their specific variety. Creating a humid atmosphere, proper watering techniques, and occasional fertilizing are key to their success. While pests and diseases are generally not a major concern, a few common issues may arise.
Throughout this guide, we will delve into the various aspects of bromeliad care, from their unique appearance to the essential steps for growth and development. You’ll also learn how to propagate these beauties and combat any pest or disease problems that may occur.
Appearance of Bromeliads

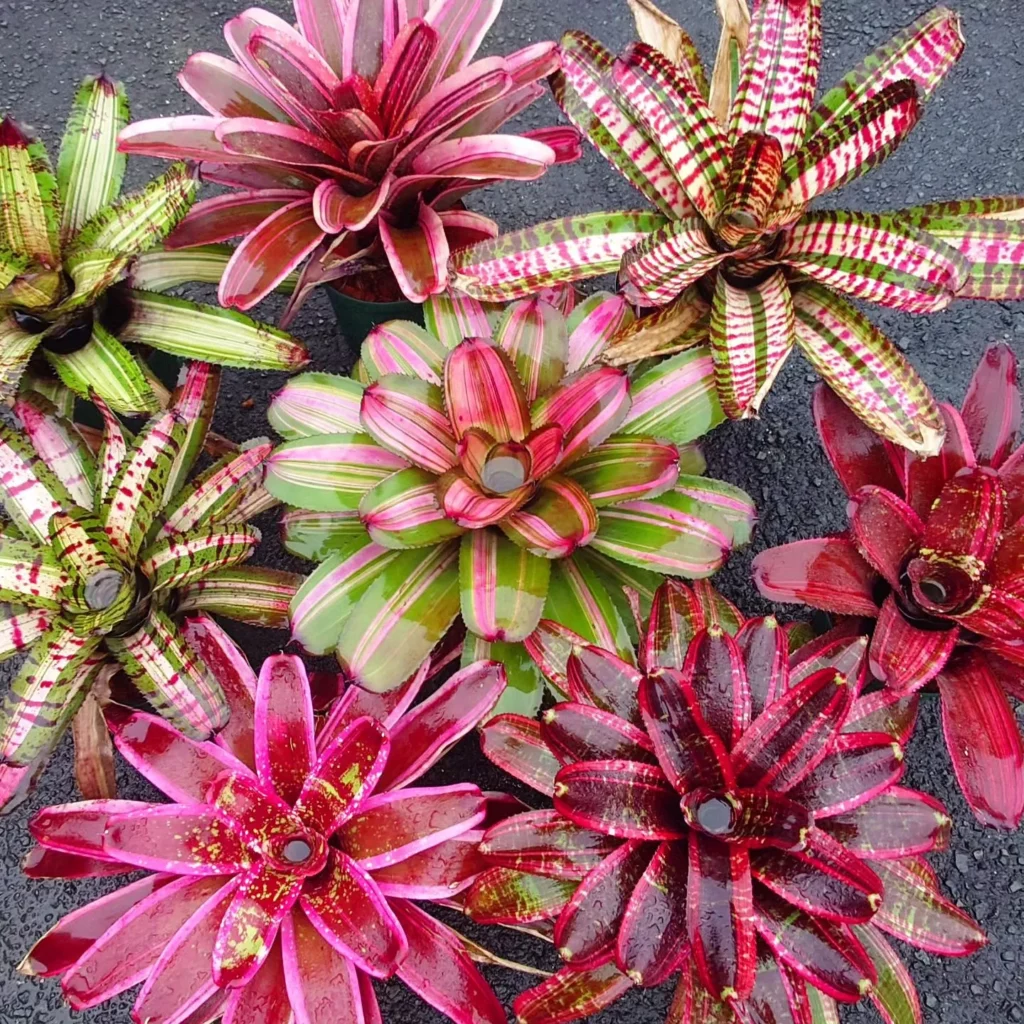
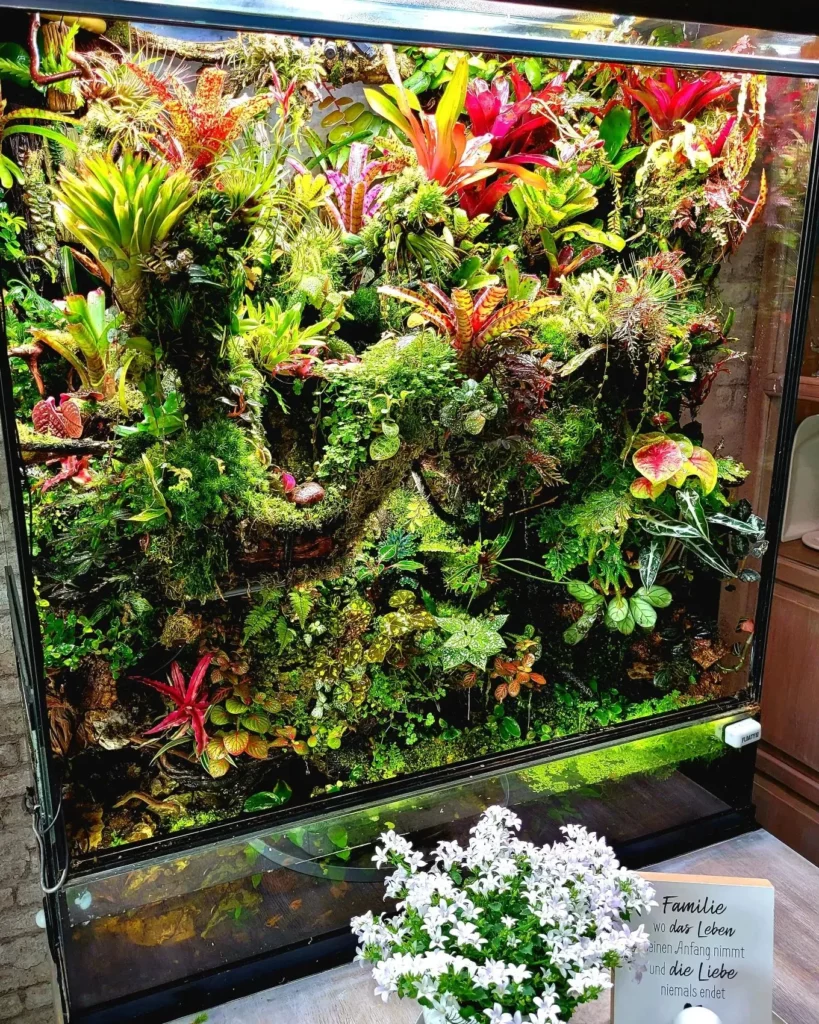
Bromeliads are known for their stunning appearance, characterized by unique foliage and vibrant blooms. These tropical plants offer a wide range of leaf shapes, sizes, and colors, making them a delightful addition to any space.
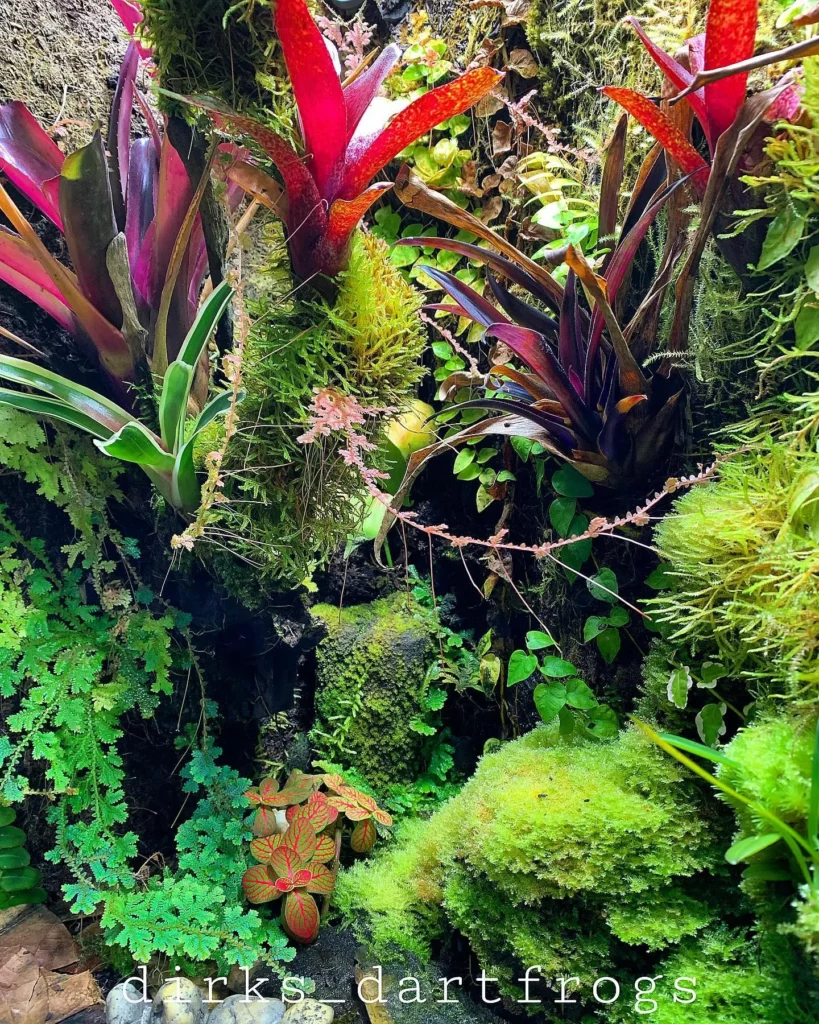
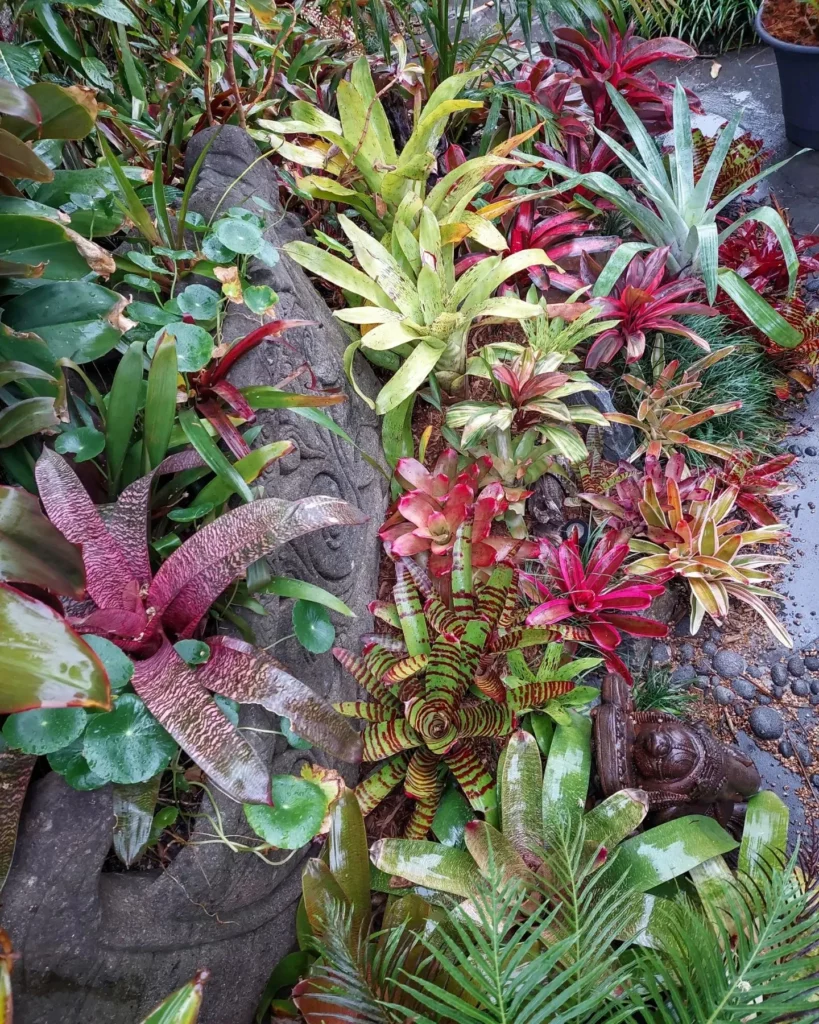
One of the remarkable features of bromeliads is their colorful foliage. You can find varieties with striped or patterned leaves, creating an eye-catching display. The foliage comes in various shades, from vibrant greens to silvers and even burgundy hues, adding a burst of color to your indoor or outdoor garden.
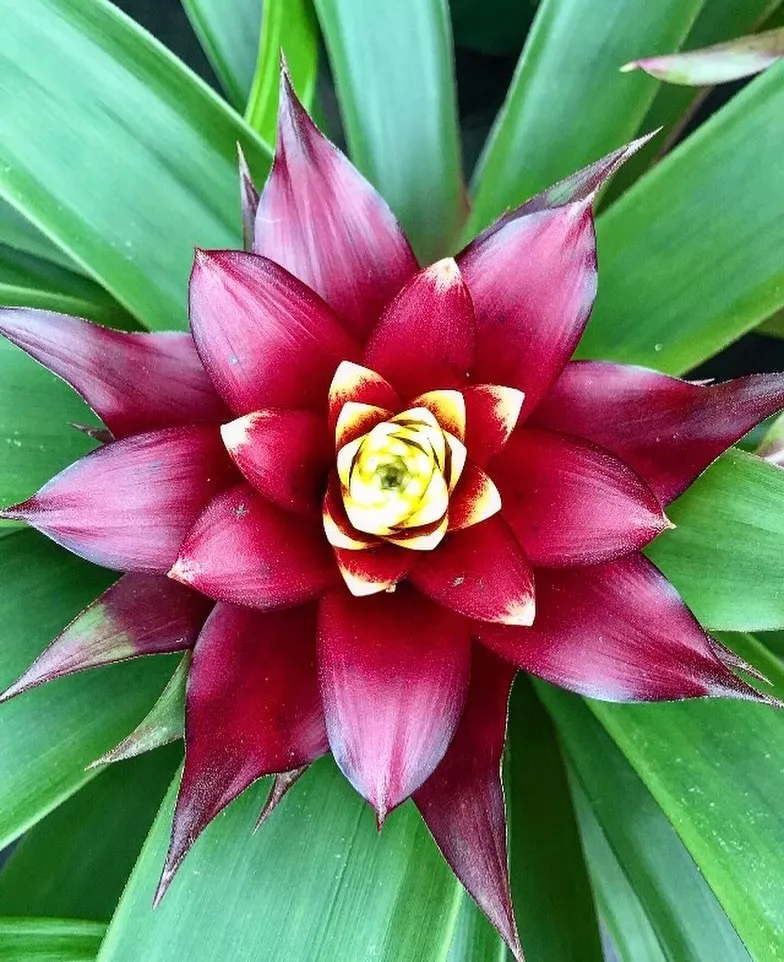
But it’s not just the foliage that makes bromeliads so captivating. These plants also produce stunning flowerheads that can last for months. The flowerheads are composed of large petal-like bracts that come in a range of colors, including reds, pinks, yellows, and oranges. Nestled among the bracts are small flowers, creating a beautiful contrast.
Each variety of bromeliad has its own unique appearance. For example, urn plants feature silver and green foliage accompanied by colorful flowers, while flaming sword bromeliads boast dark green foliage adorned with scarlet or yellow bracts. Scarlet stars, on the other hand, flaunt glossy green foliage and striking red flowers.
Some bromeliads have particularly captivating foliage with red or pink centers and striped or spotted leaves. The blushing bromeliad, with its red-centered foliage and striped leaves, is a popular choice for adding visual interest to any room. The zebra plant, with its pink-centered foliage and spotted pattern, is another showstopper.
Learn more about the different varieties of bromeliads!
A Selection of Bromeliad Varieties and Their Unique Appearances
| Bromeliad Variety | Foliage | Blooms |
|---|---|---|
| Urn Plant | Silver and green with colorful flowers | |
| Flaming Sword | Dark green with scarlet or yellow bracts | |
| Scarlet Star | Glossy green with bright red flowers | |
| Blushing Bromeliad | Red-centered foliage with striped leaves | |
| Zebra Plant | Pink-centered foliage with spotted pattern |
Light Requirements for Bromeliads

Bromeliads thrive in various lighting conditions, but it’s important to provide them with the right amount of light to ensure their growth and overall health. Understanding the light requirements for bromeliads will help you create an optimal environment for these beautiful tropical plants.
Most bromeliads prefer bright indirect light or direct sunlight. Placing them near an east-, west-, or south-facing window is ideal as it provides the optimal amount of light for most varieties. The natural light from these windows will help the bromeliads thrive.
Some bromeliad species, such as the spiky types of blushing bromeliad and many urn plants, can tolerate more direct light, similar to succulents. In contrast, bromeliads with softer, green leaves like scarlet stars prefer bright indirect light, which is less intense but still provides sufficient brightness.
Avoid placing bromeliads in drafty areas or cold rooms, as they prefer warm temperatures to thrive. Providing warmth year-round will promote healthier growth and prevent any damage to the plants.
Remember that each bromeliad species has its specific light requirements. Observing how your bromeliad responds to the available light will help you adjust its placement accordingly. If the leaves start to turn pale or yellow, it may indicate inadequate light, while brown or scorched foliage may suggest excessive light exposure.
- Bromeliads thrive in bright indirect light or direct sunlight.
- Place bromeliads near east-, west-, or south-facing windows.
- Some varieties tolerate more direct light, while others prefer bright indirect light.
- Avoid placing bromeliads in drafty areas or cold rooms.
- Provide warmth year-round for optimal growth.
| Bromeliad Light Requirements | Preferred Lighting | Tolerated Lighting |
|---|---|---|
| Bright Indirect Light | Most bromeliads | Soft-leaved varieties |
| Direct Sunlight | Spiky types of blushing bromeliad and many urn plants | – |
Watering Bromeliads

Proper watering is crucial for the health and vitality of bromeliads. By following the correct watering techniques, you can ensure that your bromeliads receive the right amount of moisture without risking overwatering or root rot.
Watering through Central Cups
Bromeliads have natural leafy cups or tanks in the center of their rosettes, which function as water reservoirs in their native habitats. To water your bromeliad, pour water directly into the central cup, making sure to fill it without overflowing. It is important to maintain some water in the cup at all times to mimic the plant’s natural conditions. This method allows the bromeliad to absorb water through the leaves and roots, ensuring proper hydration.
Bottom Watering
Another effective watering method for bromeliads is bottom watering. Place your potted bromeliad in a tray filled with water, allowing the plant to soak for an hour or two. This allows the roots to absorb water gradually, ensuring thorough hydration. Once the soil feels moist, carefully remove the plant from the tray and let any excess water drain out. Bottom watering can help prevent overwatering and maintains the ideal moisture level for the bromeliad.
Misting Air Plants
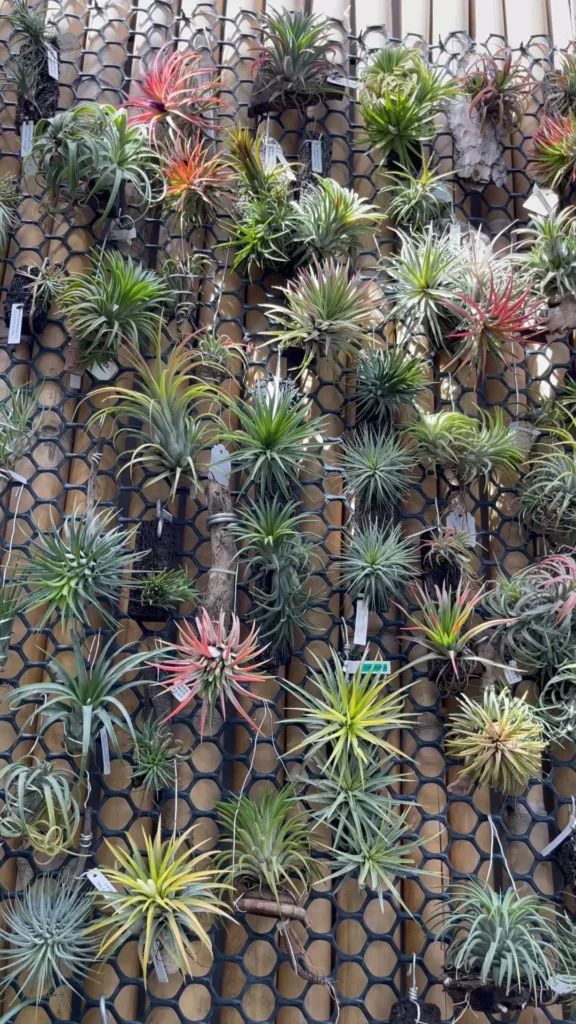
If you have air plants, also known as Tillandsias, misting is the preferred method of watering. Fill a spray bottle with water and mist the plants once or twice a week. This mimics the humidity they require without oversaturating their delicate foliage. Ensure that the mist reaches all parts of the plant.
Fertilizing Bromeliads
While bromeliads generally do not require frequent fertilizing, light feeding with a standard houseplant fertilizer can benefit their growth, especially during the spring and summer months. Fertilizer provides essential nutrients that help promote healthy foliage and vibrant blooms.
Monthly Fertilizing:
To ensure optimal growth and health, it is recommended to fertilize bromeliads once a month. This regular feeding provides a consistent supply of nutrients for sustained growth throughout the growing season.
Choosing the Right Fertilizer:
Selecting the proper houseplant fertilizer is crucial for successful fertilizing of bromeliads. Look for a balanced fertilizer with a ratio such as 10-10-10 or 20-20-20. This means that the fertilizer contains equal parts nitrogen (N), phosphorus (P), and potassium (K), which are essential for plant growth.
Application:
When applying fertilizer, follow the package instructions carefully to determine the appropriate dosage for your bromeliads. Avoid overfertilizing, as this can lead to fertilizer burn and damage the plants. Dilute the fertilizer in water according to the instructions and use it to water the plants.
Timing:
It is important to fertilize bromeliads during the active growing period, which is typically from spring to summer. Avoid fertilizing them during the winter months, as they enter a period of rest and slow growth.
Potting Bromeliads
If you wish to repot your bromeliad, follow these guidelines to ensure proper potting and optimal growth.
- Use a mix of peat-free, multi-purpose compost, and orchid compost in a 50:50 ratio. This blend provides the right balance of nutrients and moisture retention for your bromeliad.
- Choose a pot with adequate drainage holes to prevent waterlogged soil. Plastic pots tend to hold moisture longer, while unglazed clay pots allow water to seep out.
- Place a layer of small stones or broken pottery pieces at the bottom of the pot to further enhance drainage.
- Gently remove the bromeliad from its current pot, being careful not to damage the roots.
- Position the plant in the center of the new pot and fill the remaining space with the potting mix, ensuring the base of the plant is level with the rim of the pot.
- Press down the soil gently to secure the plant in place.
- Water the plant thoroughly, allowing the water to drain out of the bottom of the pot.
Proper potting is crucial for the health and growth of your bromeliad. It provides the necessary nutrients, moisture, and drainage for the plant to thrive.
| Potting Mix | Drainage Holes | Benefits |
|---|---|---|
| 50% Peat-free multi-purpose compost 50% Orchid compost | Plastic pots Unglazed clay pots |
|
Propagation of Bromeliads
Bromeliads are fascinating plants that can be easily propagated to create new plants. They produce offsets or pups at the base of the plant after flowering, which can be separated and grown independently.
To propagate bromeliads, you’ll need to wait until the pups are at least 10-15cm long. This ensures that they have developed enough to thrive on their own. To separate the pups from the main plant, gently lift the main plant out of its pot, being careful not to damage any attached roots. Carefully remove the baby plants and ensure they have their own root system.
Once you have the pups separated, it’s time to pot them up. Choose a pot with good drainage and fill it with a peat-free, house plant compost. Place each baby plant in its own pot and water thoroughly to ensure it is well hydrated. The rooting process typically takes around a month, so be patient and provide proper care and attention.
Alternatively, you can let the pups grow alongside the main plant until it dies back naturally. Once the main plant has completed its life cycle, you can then pot up the individual pups to continue their growth journey. This method allows for a continuous cycle of growth and enjoyment of these beautiful bromeliads.
Growth and Development of Bromeliads

Bromeliads have a unique growth and development cycle. These tropical plants typically live for three to five years before reaching their blooming period. After flowering, the rosette in the center of the plant gradually dies back, but new plants or offsets are produced at the base, ensuring the continuation of the species.
During the blooming period, the vibrant and colorful blooms of bromeliads can last for several months, adding beauty and charm to any indoor or outdoor space. These long-lasting flowers are a sight to behold and are sure to captivate your senses.
Unfortunately, after the blooming period, the mother plant ultimately reaches the end of its lifespan. However, fear not! The offspring of the bromeliad, in the form of offsets, continue the cycle by producing their own new plants. This means that you can enjoy the beauty of bromeliads for many years to come.
Lifespan and Blooming Period of Bromeliads
The lifespan of bromeliads typically ranges from three to five years. During this time, they undergo growth, flowering, and the production of offsets or pups. Once the mother plant has finished flowering and the offsets have matured, the parent plant eventually dies back.
During the blooming period, which can vary between different species and cultivars, bromeliads produce stunning and long-lasting flowers. Whether it’s the vibrant reds of the Guzmania or the striking yellows of the Aechmea, these blooms will bring joy and color to your botanical collection.
It’s important to note that individual bromeliads may bloom at different times throughout the year, depending on their species and environmental conditions. By providing the right care and maintaining optimal growing conditions, you can encourage your bromeliads to bloom and extend their vibrant blooming period.
| Bromeliad Species | Blooming Period |
|---|---|
| Guzmania | Several months |
| Aechmea | Up to six months |
| Neoregelia | Four to six months |
Pests and Diseases of Bromeliads
Bromeliads are generally resilient plants, but like any other plant, they can face some common pests and diseases. Two of the most common pests that can attack bromeliads are mealybugs and scale insects. These tiny insects feed on the sap of the plants, causing distorted growth. To deal with these pests, you can manually remove them by wiping them off with a damp cloth. For severe infestations, you may consider using organic sprays or insecticidal soaps.
Another issue that bromeliads can face is root and crown rot, which occurs due to overwatering. When the soil is constantly saturated, the roots can’t get enough oxygen, and this leads to rotting. To prevent root rot, it is important to follow proper watering techniques. Ensure that your bromeliad has adequate drainage and avoid waterlogged soil. Regularly inspecting and maintaining your plants will help keep them pest and disease-free.
By being attentive to the potential threats of mealybugs, scale insects, and root rot, you can ensure the health and longevity of your bromeliads. Regular care and maintenance will go a long way in keeping these vibrant tropical plants thriving in your home.
FAQ
How do I take care of bromeliads?
Bromeliads require bright, indirect light or direct sunlight, a humid atmosphere, and watering through their central tanks or cups. They can be fertilized monthly during the spring and summer months, and pests and diseases are generally not common.
What do bromeliads look like?
Bromeliads have unique appearances, with a variety of leaf shapes, sizes, and colors. They can have striped or patterned foliage and vibrant, long-lasting flowerheads composed of large bracts and small flowers.
How much light do bromeliads need?
Bromeliads thrive in bright indirect light or direct sunlight. Placing them near an east-, west-, or south-facing window provides the optimal amount of light. Some varieties can tolerate more direct light, while others prefer bright indirect light.
How should I water my bromeliads?
Watering should be done through the central leafy cups or tanks of bromeliads. Keep water in the cup at all times to mimic their natural conditions. The soil should be watered when the top inch or two feels dry, and excess water should be drained. Bottom watering or misting can also be done for certain types of bromeliads.
How often should I fertilize my bromeliads?
Bromeliads can benefit from light feeding with a standard houseplant fertilizer once a month during the spring and summer months. Avoid fertilizing them during the winter months.
How should I repot my bromeliads?
Bromeliads can be kept in the pots they are purchased in, but if repotting is desired, a mix of peat-free, multi-purpose compost, and orchid compost in a 50:50 ratio is ideal. Use a pot with adequate drainage holes to prevent waterlogged soil.
How can I propagate bromeliads?
Bromeliads produce offsets or pups that can be separated from the main plant when they are at least 10-15cm long. Pot each baby plant in peat-free, house plant compost and water thoroughly. Alternatively, the pups can be left to grow alongside the main plant until it dies back, and then they can be potted up individually.
How long do bromeliads live, and do they bloom more than once?
Bromeliads typically live for three to five years until they flower. After flowering, the rosette in the center of the plant dies back, but new offsets are produced at the base. The mother plant eventually dies, but the offspring continue to produce their own offsets.
What pests and diseases should I watch out for with bromeliads?
While bromeliads are generally resilient to pests and diseases, mealybugs and scale insects can be a problem. They can be manually removed or controlled with organic sprays or insecticidal soaps. Root and crown rot can occur due to overwatering, so proper watering techniques are important.


