
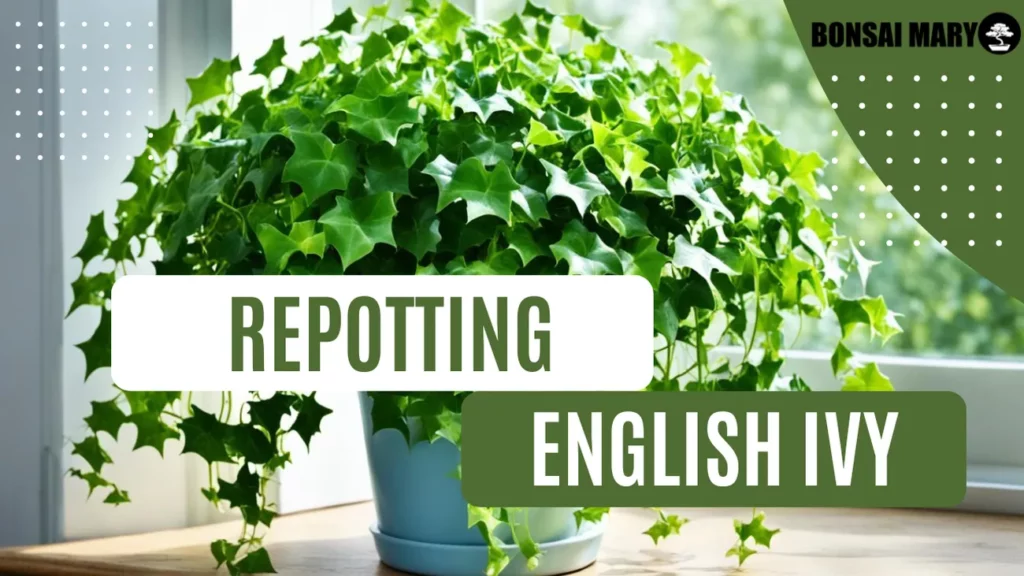
Repot English Ivy by choosing a slightly larger pot, using well-draining soil, and carefully transplanting to encourage healthy growth.
Understanding the benefits of repotting your English Ivy is essential for maintaining the overall health and longevity of the plant. Repotting provides numerous advantages that contribute to the well-being of your English Ivy plant and its overall growth.
Why Repot Your English Ivy?

Firstly, repotting allows your English Ivy to have more room for its roots to expand and grow. As plants mature, their roots become more extensive and require a larger space to access enough nutrients and water.
By repotting, you provide your English Ivy with a fresh, spacious environment to support its continued growth and development.
Additionally, repotting helps prevent the English Ivy from becoming root-bound. When a plant outgrows its current container, its roots begin circling around the pot, potentially becoming tangled and congested.
This can hinder the plant’s ability to absorb nutrients and water, leading to stunted growth and poor overall health. Repotting allows you to address this issue by providing a larger container and ample space for the roots to spread out freely.
Repotting also enables you to refresh the soil and improve its quality. Over time, the soil in your English Ivy’s pot may become depleted of nutrients, compacted, or retain excess moisture, all of which can negatively impact the plant’s health.
By repotting and replacing the old soil with fresh, well-draining potting mix, you provide a nutrient-rich medium that promotes optimal root growth and enhances the overall health of your English Ivy.
Choosing the Right Pot and Soil

When repotting your English Ivy, one of the key factors for success is selecting the appropriate pot and soil. The right pot size, material, and soil composition will provide optimal conditions for your plant’s growth and ensure its overall health.
First, let’s consider the pot selection. Choose a pot that is slightly larger than the current one, allowing room for the Ivy’s roots to grow. This will prevent it from becoming root-bound and promote healthy development.
Good options include ceramic, plastic, or terracotta pots, all of which offer proper drainage.
Next, let’s move on to soil composition. English Ivy thrives in well-draining soil that retains some moisture. A mix of peat moss, perlite, and regular potting soil creates the ideal texture and water retention for your plant. Additionally, you can add a small amount of organic matter, such as compost, to further enhance the soil quality.
Signs Your English Ivy Needs Repotting

Identifying the signs that indicate when your English Ivy requires repotting is crucial for maintaining the overall health of the plant. Repotting is necessary when your English Ivy becomes root-bound, meaning its roots have outgrown the current container and are tightly packed.
Root-bound plants exhibit distinct indicators that can help you determine when it’s time to repot. Look out for the following telltale signs:
- Roots growing out of the drainage holes
- Stunted growth or decreased vigor
- Frequent wilting or yellowing leaves despite regular watering
- Slow or no growth despite being properly cared for
- The plant becoming too heavy for its container
Preparing Your English Ivy for Repotting

Properly preparing your English Ivy plant before repotting is crucial for a successful transition and to minimize any potential stress. Following the right preparation steps will ensure that your plant remains healthy and resilient throughout the repotting process.
- Watering: A few days before you plan to repot your English Ivy, make sure to water it thoroughly. This will help hydrate the roots and make it easier to remove the plant from its current pot. Avoid overwatering to prevent waterlogged soil which can cause root rot.
- Pruning: Before repotting, inspect your English Ivy for any dead, damaged, or overgrown foliage. Using clean pruning shears, trim these parts to promote healthier growth and improve the overall appearance of the plant. Be sure to remove any yellowing or brown leaves as well.
- Root Inspection: Carefully remove your English Ivy from its current pot and examine the roots. Gently untangle any tangled or circling roots to encourage proper growth. If the roots are severely overgrown and root-bound, consider using a clean knife or shears to make a few vertical cuts along the root ball to stimulate new root growth.
- Soil Preparation: While preparing your Ivy for repotting, take the opportunity to prepare the new potting soil. Use a well-draining and nutrient-rich potting mix suitable for houseplants. Avoid heavy, compacted soils as they can hinder root growth and lead to waterlogged conditions.
Repotting Your English Ivy: Step-by-Step Guide

Repotting your English Ivy is an essential task to ensure its continued growth and overall health. Follow this detailed, step-by-step guide to successfully repot your English Ivy and provide it with a fresh start.
- Choose the right time: The best time to repot your English Ivy is during the spring or early summer when the plant is actively growing. This allows it to recover more quickly and adapt to the new container.
- Select a new container: Choose a pot that is one size larger than the current one to provide ample space for the roots to grow. Ensure the pot has proper drainage holes to avoid waterlogging.
- Prepare the new pot: Fill the bottom of the new pot with fresh, well-draining soil. The soil should be suitable for indoor plants or a mix of potting soil and perlite to ensure proper drainage.
- Remove the plant: Carefully remove the English Ivy from its current pot by gently gripping the base of the plant and easing it out. Be cautious not to damage the delicate roots.
- Inspect the roots: Check the roots for any signs of damage or rot. Trim away any dead or diseased roots using clean, sharp scissors or pruning shears.
- Divide the root system (if necessary): If the English Ivy has become root bound or overly crowded, gently divide the root system into smaller sections. This will encourage new growth and prevent overcrowding in the new pot.
- Position the plant: Place the English Ivy in the center of the new pot, ensuring that the crown of the plant sits slightly above the soil level.
- Fill in with soil: Fill the gaps around the root ball with fresh soil, gently tamping it down to provide stability. Leave some space at the top to allow for watering.
- Water thoroughly: Give your repotted English Ivy a thorough watering to settle the soil and ensure proper hydration. Allow any excess water to drain away.
Maintaining Your Repotted English Ivy

Once you have successfully repotted your English Ivy, it’s important to provide the proper care to ensure its continued growth and well-being. Here are some essential post-repotting care tips to help your English Ivy thrive in its new environment:
- Watering Schedule: Establishing a consistent watering schedule is crucial for the health of your repotted English Ivy. Be mindful not to overwater, as this can lead to root rot. Instead, allow the top inch of soil to dry out before watering again. Always check the moisture level by sticking your finger into the soil.
- Light Requirements: English Ivy thrives in bright, indirect light. Place your repotted plant in a location where it can receive at least 4-6 hours of filtered sunlight per day. Avoid placing it in direct sunlight, as this can lead to leaf burn.
- Maintenance Tips: Regularly check your English Ivy for any signs of pests or diseases. Prune any dead or yellowing leaves to promote new growth. Additionally, consider rotating the pot occasionally to ensure even growth and prevent the plant from leaning towards the light source.
Troubleshooting Common Issues

Even with proper repotting and care, English Ivy may encounter certain problems. It’s essential to be aware of these common issues and their respective troubleshooting techniques to ensure the continued health of your plant.
Yellow Leaves
The appearance of yellow leaves on your English Ivy can be a sign of various problems. First, assess the amount of sunlight your plant is receiving. Too much direct sunlight can cause the leaves to turn yellow.
Consider moving your ivy to a shadier spot or filtering the light with a sheer curtain.
Another possible cause is overwatering. Ensure that the soil is well-draining and that you’re not watering the plant too frequently. Allow the top inch of soil to dry out between waterings.
In some cases, yellow leaves may indicate a nutrient deficiency. Consider using a balanced fertilizer specifically formulated for ivy plants to provide the necessary nutrients.
Overwatering
Overwatering is a common issue that can affect the health of your English Ivy. It is important to strike a balance between keeping the soil moist and avoiding excessive moisture.
If you notice that the soil is consistently wet or waterlogged, adjust your watering schedule. Allow the top inch of soil to dry out before watering again.
To improve drainage, consider repotting your ivy in a container with drainage holes. Additionally, ensure that the potting soil is well-draining and does not retain excessive moisture.
Root Rot
Root rot can occur when the roots of your English Ivy are continuously exposed to excess moisture. This condition can lead to the decay of the root system and adversely affect the overall health of the plant.
To prevent root rot, it is crucial to provide a well-draining soil mix and avoid overwatering. Check the root system regularly and look for any signs of rot, such as a foul odor, mushy roots, or browning/disintegrating roots. If root rot is detected, trim away the affected roots and repot the ivy in fresh, well-draining soil.
Frequently Asked Questions (FAQs)
Still have questions about repotting your English Ivy? We’ve got you covered. Here are answers to some common concerns and expert advice to help you through the repotting process.
1. When is the ideal time to repot my English Ivy?
The ideal time to repot your English Ivy is during the spring or early summer months when the plant is actively growing. This allows it to recover quickly from the repotting process and establish itself in the new container.
2. How do I know if my English Ivy is root-bound?
A root-bound English Ivy will display several signs, such as roots circling around the inside of the pot, limited growth or wilting despite regular watering, or the potting mix drying out quickly. If you notice these indications, it’s time to repot your plant.
3. What is the best potting mix for my English Ivy?
English Ivy thrives in well-draining potting soil that retains some moisture. A blend of peat moss, perlite, and compost is a suitable option. Avoid using heavy or clay-based soils that can retain too much moisture and cause root rot.
4. Can I divide the roots of my English Ivy during repotting?
Yes, dividing the roots of your English Ivy can help rejuvenate the plant and promote healthier growth. Gently separate the root ball into smaller sections, ensuring each division has its own set of healthy roots and foliage.
5. How often should I repot my English Ivy?
The frequency of repotting depends on the growth rate and the size of the plant. Typically, repotting every 1-2 years is sufficient to prevent the English Ivy from becoming root-bound and ensure its continued healthy growth.
6. How can I prevent overwatering my English Ivy after repotting?
Overwatering can be detrimental to your English Ivy’s health. To prevent overwatering, allow the top inch of soil to dry out before watering and be mindful of the watering frequency. Ensure the new pot has drainage holes to prevent waterlogging.
7. Can I repot my English Ivy in a larger pot?
While English Ivy appreciates a slightly snug pot, if it has outgrown its current container and exhibits signs of being root-bound, repotting in a slightly larger pot is advisable. Just ensure the new pot has sufficient drainage and only increase the pot size incrementally.
8. How long does it take for my repotted English Ivy to adapt?
After repotting, your English Ivy may take a few weeks to adjust to its new environment and resume active growth. During this period, ensure it receives adequate light, water, and proper care to encourage a smooth transition.
9. Can I use a decorative container for repotting my English Ivy?
While it’s tempting to use a decorative container, ensure that it has drainage holes to prevent water accumulation. If the decorative pot doesn’t have drainage, consider using a slightly smaller plastic or terracotta pot inside and place it inside the decorative pot for aesthetics.
10. What if my English Ivy doesn’t thrive after repotting?
If your English Ivy doesn’t thrive after repotting, reassess the care routine and environmental conditions. Ensure it receives appropriate light, proper watering, and a suitable temperature. If issues persist, check for signs of pests, nutrient deficiencies, or disease, and take appropriate action.
Conclusion
Remember, repotting your English Ivy is essential for maintaining its overall health and longevity. Choosing the right pot size, material, and soil composition is crucial for creating optimal conditions for your plant’s growth.
Additionally, knowing the signs that indicate your English Ivy needs repotting and properly preparing your plant before repotting are key steps in the process.
Once you have repotted your English Ivy, it is important to provide post-repotting care, including a watering schedule and proper light requirements. This will help your English Ivy adjust to its new environment and continue to thrive.
In case you encounter any common issues, such as yellow leaves or overwatering, refer to our troubleshooting tips for guidance.
We hope this guide has empowered you with the knowledge and confidence to successfully repot your English Ivy. Taking care of your English Ivy is a rewarding and fulfilling experience, and with the right care, your plant will bring beauty and vitality to your surroundings for years to come.


