
Welcome to our Kangaroo Paw Fern care guide! If you’re looking for a lush and tropical houseplant that’s easy to care for, the Kangaroo Paw Fern is the perfect choice. With its thick, glossy leaves and unique appearance, this fern will add a touch of the rainforest to your home.
What is a Kangaroo Paw Fern?

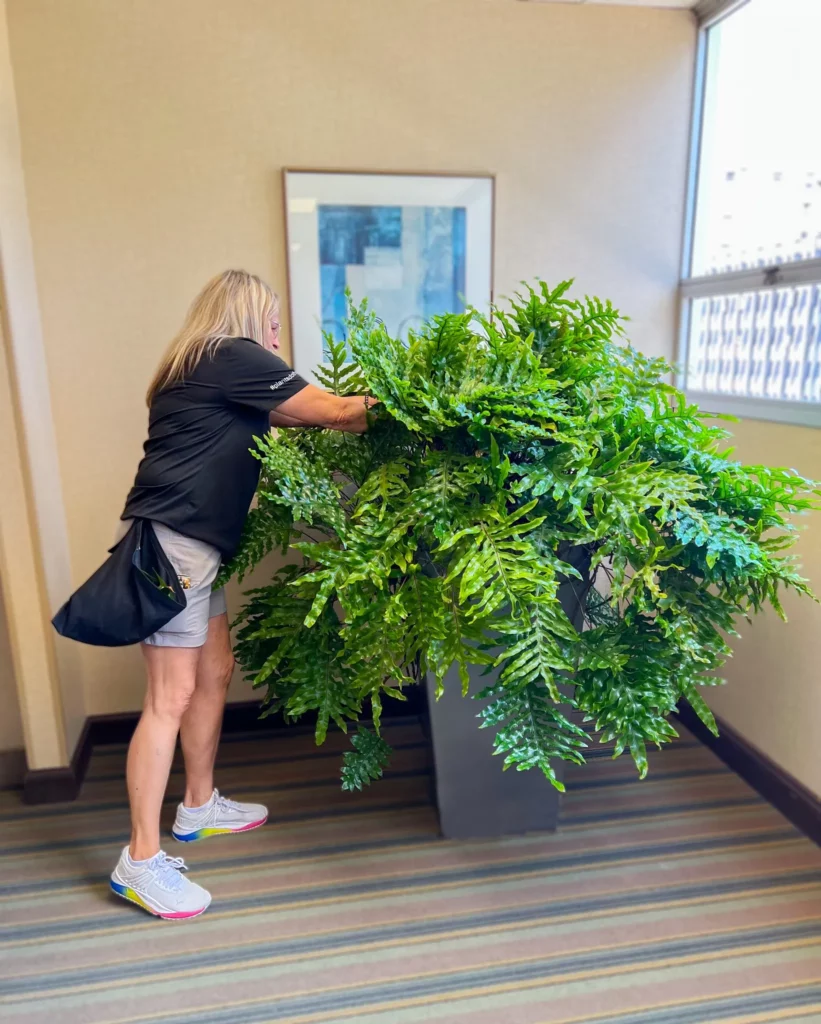
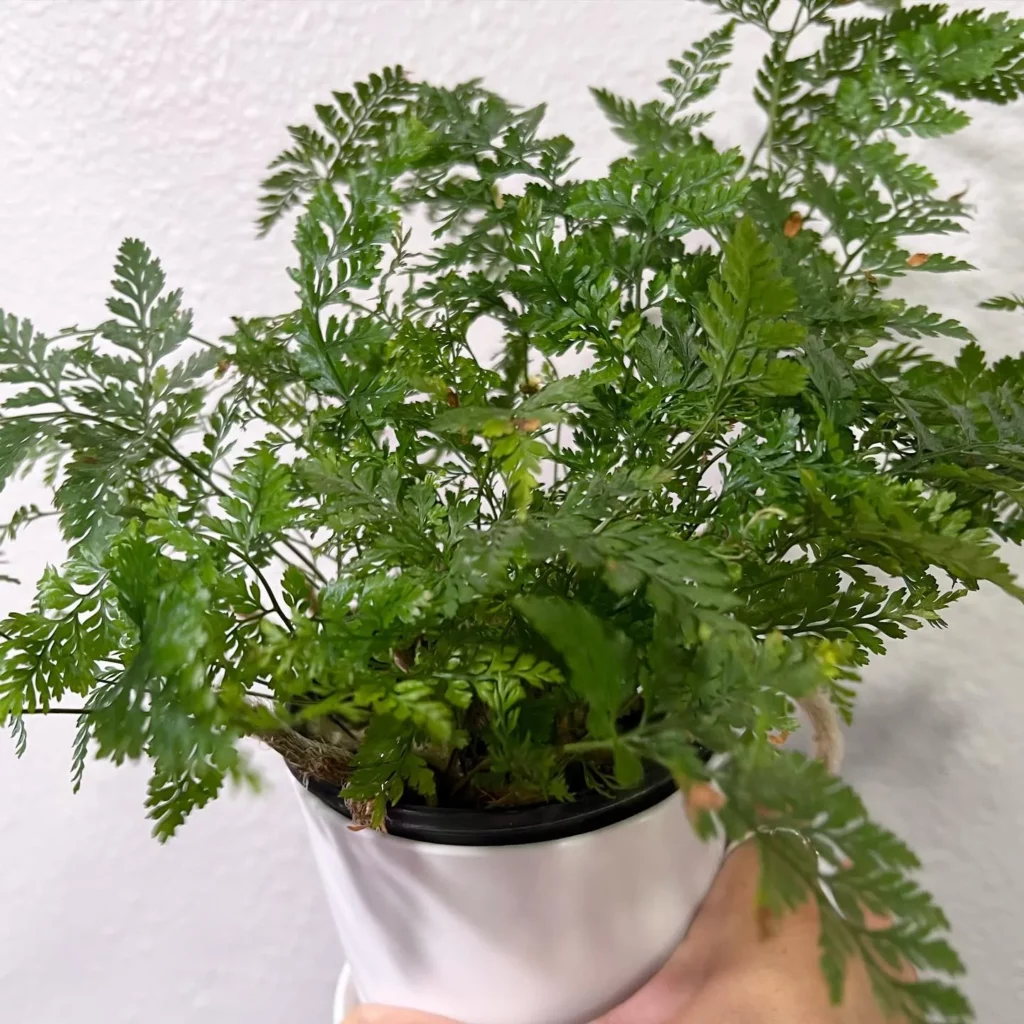
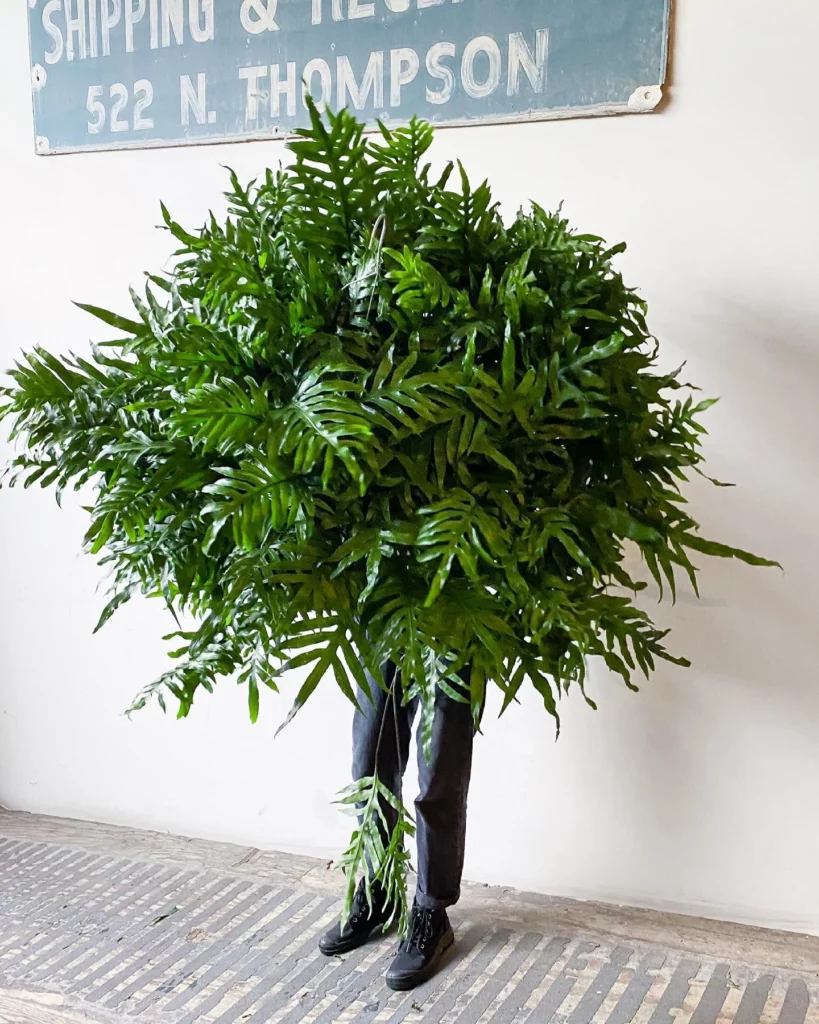
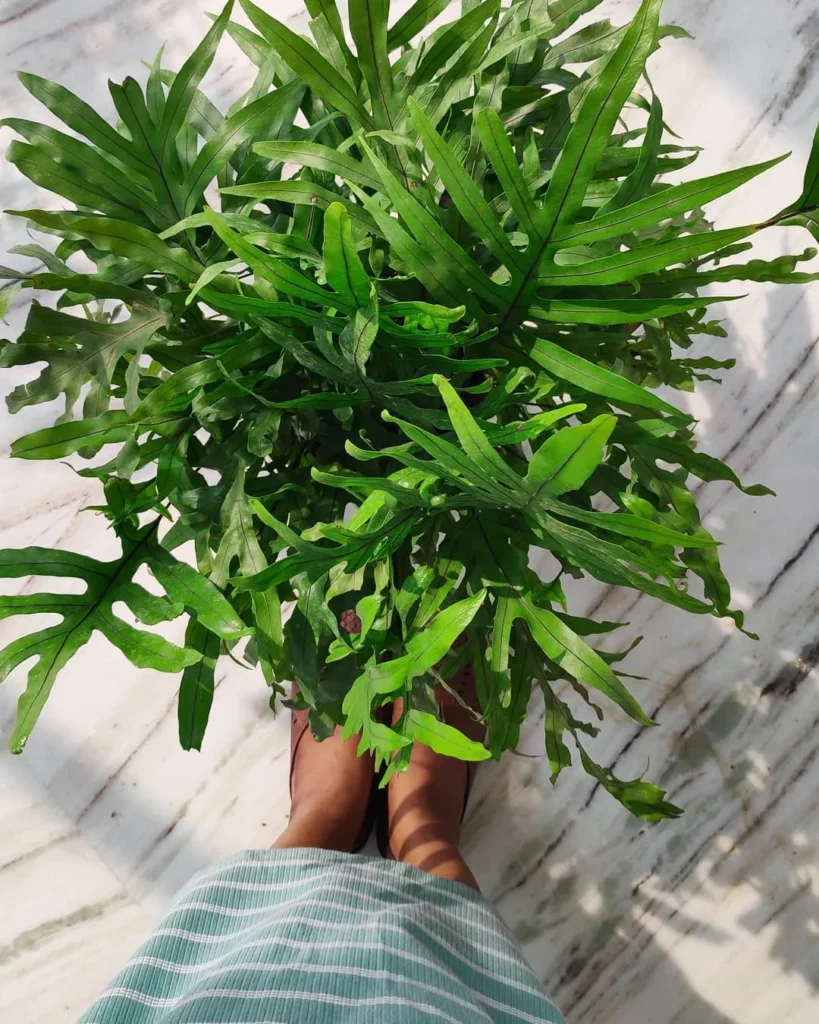
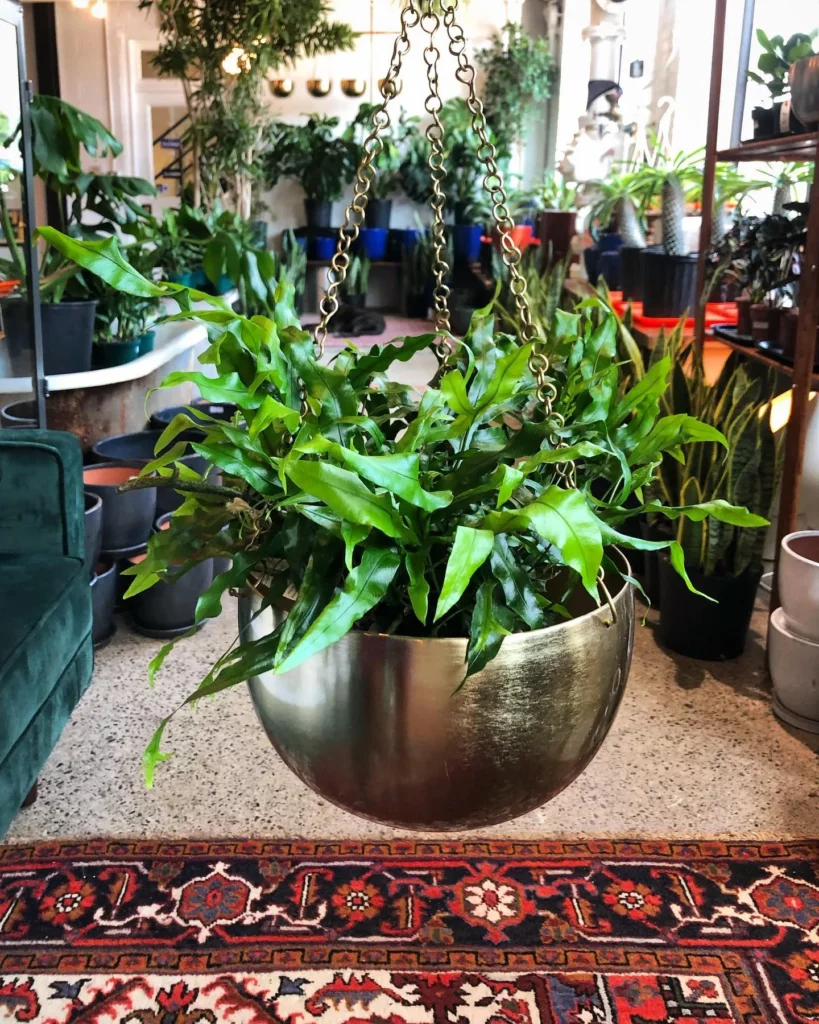
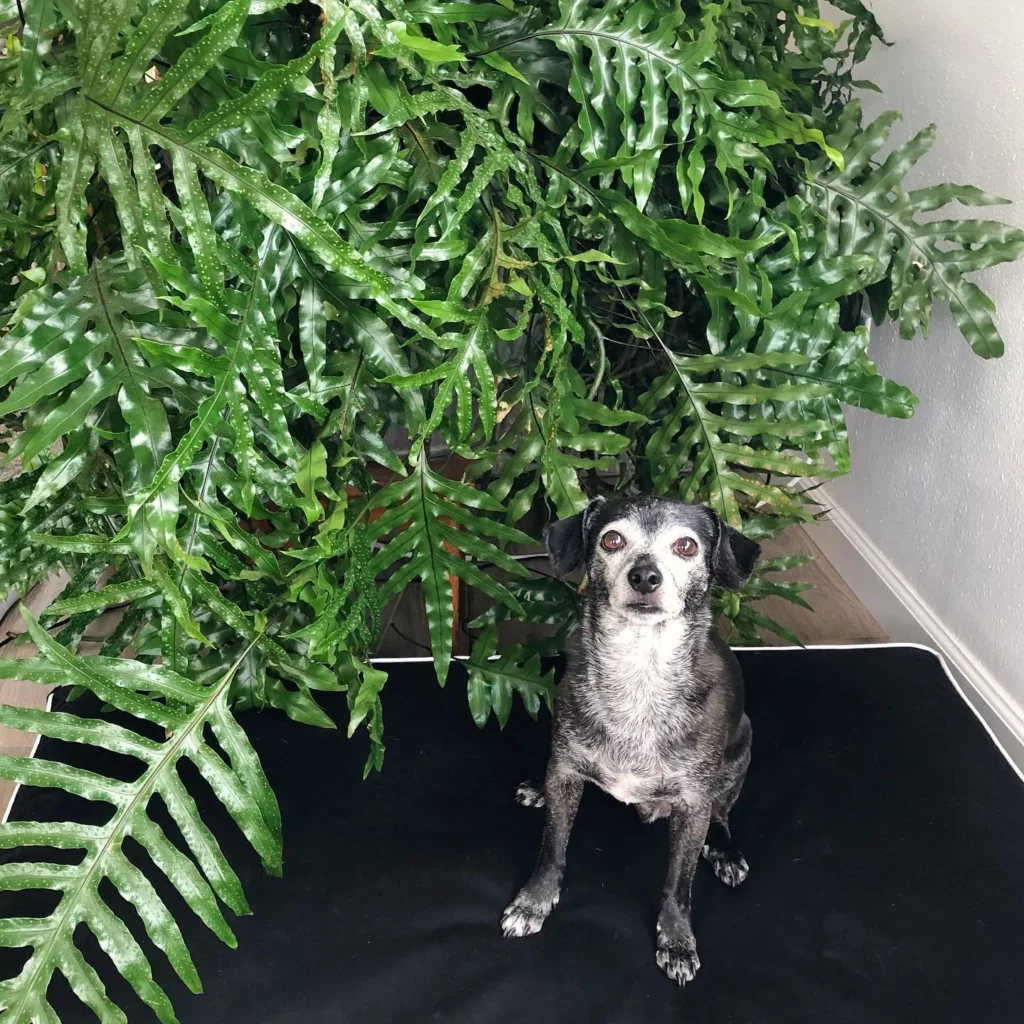
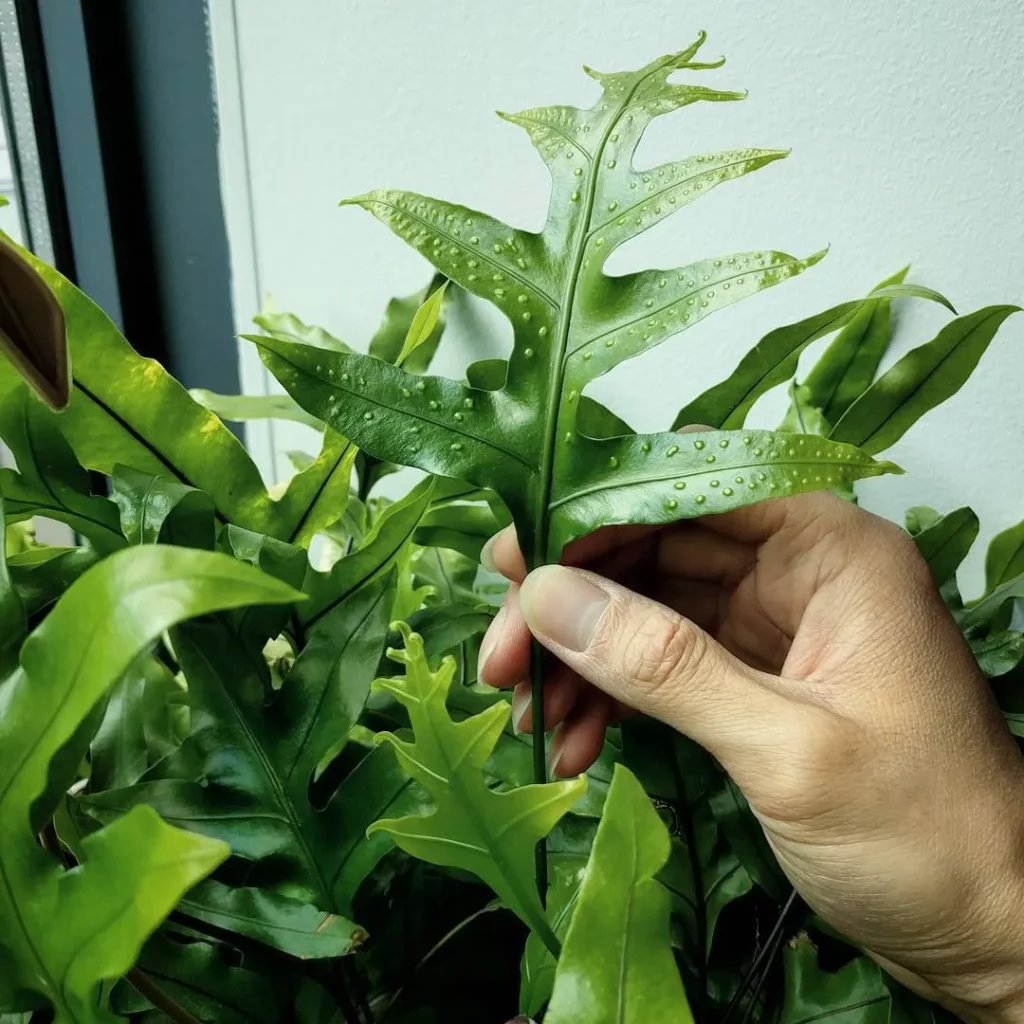
The Kangaroo Paw Fern, scientifically known as Microsorum diversifolium, is a fern species that can reach a height of 1 foot tall and a width between 3 and 4 feet. Its leaves are thick, glossy, and leathery, giving it a unique appearance. The fronds are not feathery like other fern species, but instead, they have a chunky and slightly arching shape. Some fronds even have extended “toes” that resemble a kangaroo paw. The foliage is deep green with a glossy shine, and occasionally, small spore-producing structures called sori form on the undersides of the leaves.
Light Requirements for Kangaroo Paw Ferns

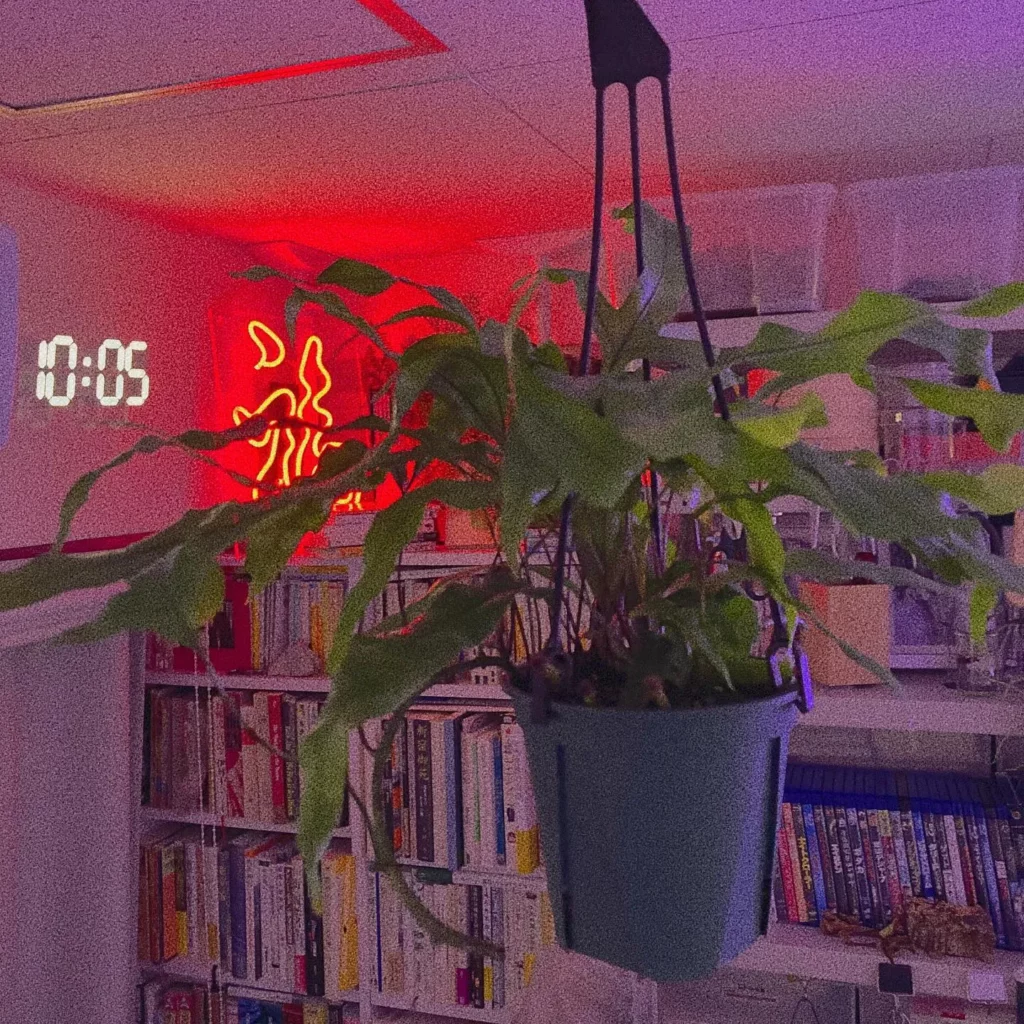
Kangaroo Paw Ferns thrive in moderate, indirect light. To ensure optimal growth, place your Kangaroo Paw Fern in a location that receives bright but filtered sunlight. North-facing or east-facing windows are ideal for providing the right amount of light without exposing the fern to direct sunlight, which can damage its delicate leaves.
Outdoors, in warmer zones, Kangaroo Paw Ferns can be grown in partial shade. They are adaptable and can tolerate a range of light conditions, but they perform best in bright, indirect light.
- Moderate, indirect light
- Preferably north-facing or east-facing windows
- Avoid direct sunlight
- Can be grown outdoors in partial shade
- Perform best in bright, indirect light
| Light Conditions | Ideal for Kangaroo Paw Ferns? |
|---|---|
| North-facing or east-facing window with bright, filtered sunlight | Yes |
| Direct sunlight | No, can cause leaf damage |
| Partial shade outdoors | Yes, in warmer zones |
| Bright, indirect light | Yes, preferred light condition |
Watering the Kangaroo Paw Fern

Kangaroo Paw Ferns prefer regular, even moisture to thrive and maintain their vibrant appearance. Proper watering is crucial for the health and well-being of this tropical houseplant. Follow these watering tips to ensure your Kangaroo Paw Fern stays hydrated and happy:
- Consistent Moisture: Keep the soil consistently damp, but be careful not to overwater and make it soggy. The Kangaroo Paw Fern prefers to be consistently moist but not waterlogged.
- Avoid Drying Out: Avoid allowing the plant to fully dry out between waterings, as this can cause stress and damage to the fern. Check the moisture level of the soil regularly and water as needed.
- Thorough Watering: When it’s time to water the Kangaroo Paw Fern, ensure you thoroughly saturate the soil. Water the plant until excess water starts to drain out of the pot’s drainage holes. This practice helps flush out any accumulated salts or mineral buildup in the soil.
- Discard Excess Water: After watering, make sure to discard any excess water that collects in the saucer or tray beneath the pot. Standing water can lead to root rot and other moisture-related issues.
| Watering Frequency | Signs of Proper Watering | Signs of Overwatering | Signs of Underwatering |
|---|---|---|---|
| Too often | Consistently moist soil | Yellowing or wilting leaves, root rot | Dry, crispy leaves; drooping foliage |
| Too little | Damp soil but not waterlogged | Dry and crispy leaves, leaf drop | Wilting, shriveled fronds |
Fertilizing the Kangaroo Paw Fern

To keep your Kangaroo Paw Fern healthy and thriving, it’s important to fertilize it regularly. Follow these simple guidelines to ensure proper fertilization:
- Fertilize your Kangaroo Paw Fern once every four to six weeks during the spring and summer growing season. This is when the plant is actively growing and requires additional nutrients.
- Use a liquid fertilizer specially formulated for houseplants. Dilute the fertilizer to half the recommended strength to prevent fertilizer burn. You can find liquid fertilizers at your local garden center or online.
- When applying the fertilizer, make sure to thoroughly moisten the soil. This helps the plant absorb the nutrients more efficiently.
- In addition to liquid fertilizers, you can also use granular organic fertilizer or fertilizer spikes. Apply these once a year in the early spring to provide a slow-release source of nutrients.
- Always follow the instructions on the fertilizer package for application rates. Applying too much fertilizer can harm the fern and lead to nutrient imbalances.
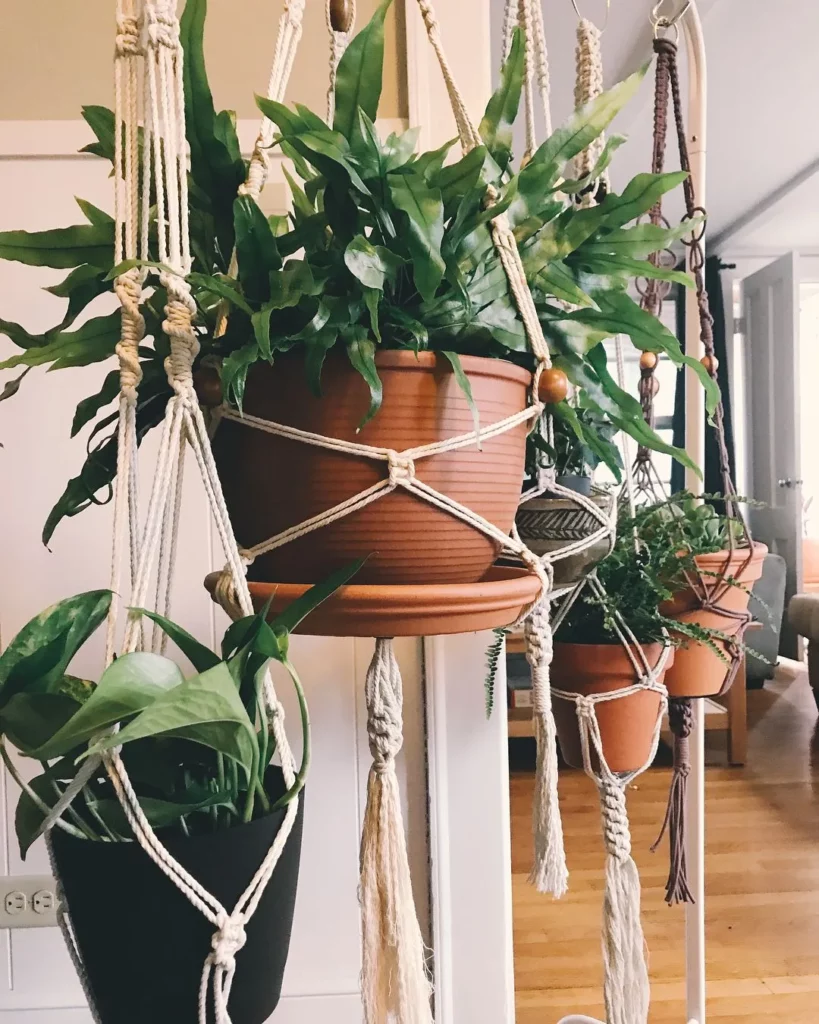
Potting the Kangaroo Paw Fern


It’s important to repot crowded Kangaroo Paw Ferns every few years or when they outgrow their pots. This allows the roots to have enough space to grow and prevents the plant from becoming root bound. When potting your Kangaroo Paw Fern, follow these tips:
- Choose a well-draining potting mix that is rich in organic matter. A mix of standard houseplant potting soil and peat moss, coco coir, or leaf mold is recommended. This will provide the necessary nutrients and moisture retention for the fern to thrive.
- Gently remove the fern from its current pot, being careful not to damage the roots.
- Inspect the plant’s roots to see if it needs to be divided. If the root system is overcrowded or tangled, it may be beneficial to divide the plant into multiple sections. This will promote healthy growth and prevent the plant from becoming pot-bound.
- Choose a pot that is slightly larger than the current one, allowing room for the fern to grow. Make sure the new pot has drainage holes to prevent waterlogging.
- Place a layer of fresh potting mix in the bottom of the new pot.
- Position the Kangaroo Paw Fern in the center of the pot and fill in the sides with additional potting mix, gently firming it around the roots.
- Water the fern thoroughly after repotting to help the new potting mix settle and eliminate any air pockets.
- Place the newly potted fern in a location with bright, indirect light and maintain regular watering and care.
Potting the Kangaroo Paw Fern
| Step | Instructions |
|---|---|
| 1 | Choose a well-draining potting mix that is rich in organic matter. |
| 2 | Gently remove the fern from its current pot, being careful not to damage the roots. |
| 3 | Inspect the plant’s roots to see if it needs to be divided. |
| 4 | Choose a pot that is slightly larger than the current one, with drainage holes. |
| 5 | Place a layer of fresh potting mix in the bottom of the new pot. |
| 6 | Position the Kangaroo Paw Fern in the center of the pot and fill in the sides with additional potting mix. |
| 7 | Water the fern thoroughly after repotting. |
| 8 | Place the newly potted fern in a location with bright, indirect light. |
Propagating the Kangaroo Paw Fern

The Kangaroo Paw Fern can be propagated through rhizome division. Every few years, you can take a sharp knife and divide the plant into multiple sections, making sure each section has healthy rhizomes and leaves. Plant each division in a separate pot with fresh potting mix and keep them in a warm place with indirect light until they adjust to their new environment.
Another method of propagation is through spores, but it is a slower and more complex process.
Growth and Development of Kangaroo Paw Ferns
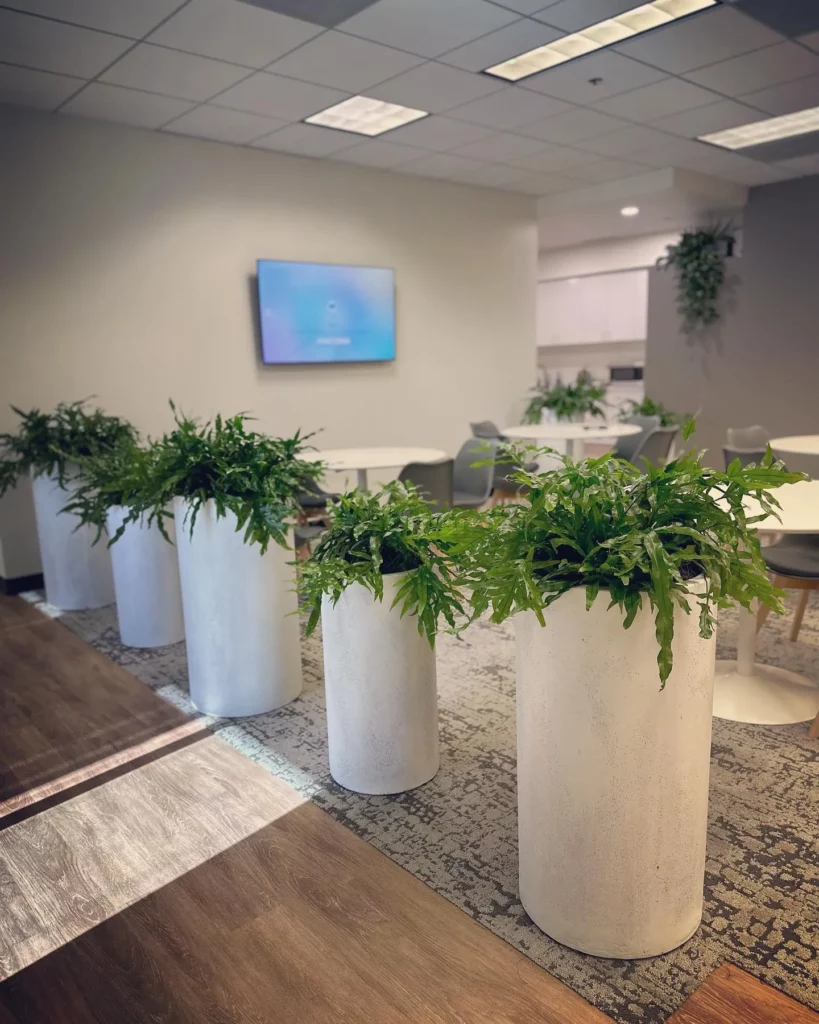
Kangaroo Paw Ferns are known for their fast growth and lush foliage. With the right conditions and care, these ferns can quickly fill out and become dense, creating a stunning display in your home. As the name suggests, the fronds of the Kangaroo Paw Fern can spread and resemble the paws of a kangaroo. This unique characteristic adds to the appeal of these beautiful plants.
To ensure optimal growth and development, provide your Kangaroo Paw Fern with the following:
- Light: Place your fern in a location with bright, indirect light. Avoid direct sunlight, as it can scorch the leaves. If growing indoors, a north-facing or east-facing window is ideal.
- Water: Keep the soil consistently moist but not soggy. Regular watering is important to prevent the fern from drying out. However, be cautious of overwatering, as it can lead to root rot. Allow excess water to drain out of the pot.
- Fertilizer: Feed your Kangaroo Paw Fern with a balanced liquid fertilizer every four to six weeks during the growing season. Follow the instructions on the fertilizer package for proper dilution and application.
- Pruning: Regular pruning may be necessary to control the size and shape of your fern. Remove any dead or yellowing fronds to promote healthy growth.
| Aspect | Care Tips |
|---|---|
| Light | Provide bright, indirect light; avoid direct sunlight |
| Water | Maintain consistent moisture; avoid overwatering |
| Fertilizer | Feed every four to six weeks during the growing season |
| Pruning | Regularly remove dead or yellowing fronds |
Dealing with Pests and Diseases
Kangaroo Paw Ferns are generally resilient and not prone to many pests or diseases. However, it’s important to be aware of common issues that can affect their health. By promptly identifying and addressing these problems, you can ensure the continued well-being of your Kangaroo Paw Fern. Here are some common pests and diseases to watch out for:
Burned Foliage from Excessive Light or Fertilizer
Exposing your Kangaroo Paw Fern to direct sunlight or using too much fertilizer can result in burned foliage. To prevent this, ensure that your fern is placed in a location with moderate, indirect light and follow the recommended guidelines for fertilizing. If you notice signs of burned foliage, move your fern to a shadier spot and reduce the amount of fertilizer you’re using.
Yellowing or Rotting Lower Leaves from Overwatering
Overwatering can lead to yellowing or rotting of the lower leaves of your Kangaroo Paw Fern. To prevent this, ensure that the soil is evenly moist but not overly saturated. Allow the top inch of soil to dry out between waterings, and provide good drainage for the plant. If you notice signs of overwatering, adjust your watering routine accordingly.
Spider Mites and Webbing on Leaf Undersides
Spider mites can infest Kangaroo Paw Ferns, leaving behind fine webbing on the undersides of the leaves. If you spot these signs, gently wipe the leaves with a damp cloth to remove the mites. You can also try using insecticidal soap or neem oil to control the infestation. Regularly inspect your fern for any signs of spider mites to prevent the spread of the pests.
Scale Insects and Discolored Leaves
Scale insects may attach themselves to the leaf stems of your Kangaroo Paw Fern, causing discolored leaves. If you notice hard dark bumps on the leaf stems or discolored foliage, gently scrape off the scales with a soft brush or cloth. You can also use insecticidal soap or neem oil to control the infestation. Regularly check your fern for signs of scales to prevent further damage.
Lack of Oxygen to the Roots and Plant Collapse
If the roots of your Kangaroo Paw Fern are deprived of oxygen, the plant can collapse. This can happen if the soil remains waterlogged or if there is insufficient drainage in the pot. To prevent this issue, ensure that your fern is potted in well-draining soil and that the pot has ample drainage holes. Avoid overwatering and remove any excess water that collects in the saucer.
Pest and Disease Control Methods
To treat pests and diseases affecting your Kangaroo Paw Fern, it’s important to adjust the light, water, and fertilizer levels according to the specific issue. If necessary, use appropriate methods of pest control such as insecticidal soaps, neem oil, or other organic treatments. Always follow the instructions carefully and monitor the progress of treatment.
| Pest/Disease | Signs | Treatment |
|---|---|---|
| Burned Foliage | Leaves with brown or scorched spots | Move to a shadier spot, reduce fertilizer |
| Overwatering | Yellowing or rotting lower leaves | Adjust watering routine, improve drainage |
| Spider Mites | Webbing on leaf undersides | Wipe leaves with damp cloth, use insecticidal soap or neem oil |
| Scale Insects | Hard dark bumps on leaf stems, discolored leaves | Scrape off scales, use insecticidal soap or neem oil |
| Lack of Oxygen to Roots | Plant collapse | Ensure well-draining soil and pot with ample drainage holes, avoid overwatering |
Additional Care Tips for Kangaroo Paw Ferns
Kangaroo Paw Ferns, with their lush and tropical appearance, can thrive with a little extra care. Here are some additional tips to help you keep your Kangaroo Paw Ferns healthy and vibrant:
- Provide high to moderate humidity levels for your Kangaroo Paw Ferns. You can increase humidity by placing them in bathrooms or kitchens, where moisture levels are naturally higher. Alternatively, you can use a humidity tray or a plant humidifier to create a humid environment.
- Avoid placing your ferns near heaters, stoves, or any dry air sources, as they prefer a moist and cool environment. Exposure to dry air can cause the fern’s leaves to dry out and become brittle.
- Remove any brown or dead leaves regularly to improve the overall appearance of your Kangaroo Paw Ferns. This will also help promote new growth.
- Dust the leaves of your ferns occasionally with a damp cloth or paper towel to keep them clean and free from dust. This will also help the leaves absorb more light for photosynthesis.
Conclusion
The Kangaroo Paw Fern is a stunning and relatively easy-to-care-for houseplant that will bring a touch of tropical beauty into your home. With its lush and glossy leaves, this fern is sure to be a standout in any room. By following the tips in this care guide, you can ensure that your Kangaroo Paw Fern thrives and stays healthy.
Remember to provide your fern with moderate, indirect light, and keep the soil consistently moist without overwatering. Fertilize it regularly during the growing season and repot when necessary to promote healthy growth. If pests or diseases do appear, take prompt action to treat them and preserve the beauty of your plant.
Whether you’re a seasoned green thumb or a beginner plant enthusiast, the Kangaroo Paw Fern is a great choice for adding a touch of nature to your indoor environment. With its adaptable nature and unique appearance, it’s sure to be a conversation starter and a source of joy for years to come. So, go ahead and enjoy the beauty of this unique fern in your home!
FAQ
What is a Kangaroo Paw Fern?
The Kangaroo Paw Fern, also known as the Kangaroo Fern or Kangaroo Foot Fern, is a lush and tropical houseplant native to Australia and New Zealand. It has thick, glossy leaves that give it a rainforest look.
What are the appearance characteristics of a Kangaroo Paw Fern?
The Kangaroo Paw Fern has thick, glossy, and leathery leaves. The fronds are chunky and slightly arching, with some fronds having extended “toes” that resemble a kangaroo paw. The foliage is deep green with a glossy shine, and small spore-producing structures called sori may form on the undersides of the leaves.
What are the light requirements for Kangaroo Paw Ferns?
Kangaroo Paw Ferns thrive in moderate, indirect light. They prefer a north-facing or east-facing window where they can receive bright but filtered sunlight. Avoid placing them in direct sunlight, as it can damage the leaves.
How should I water my Kangaroo Paw Fern?
Kangaroo Paw Ferns prefer regular, even moisture. Keep the soil consistently damp but not soggy. Water the fern thoroughly, allowing excess water to drain out of the pot. Discard any standing water in the saucer to prevent root rot.
How often should I fertilize my Kangaroo Paw Fern?
Fertilize the Kangaroo Paw Fern once every four to six weeks during the spring and summer growing season. Use a liquid fertilizer diluted to half the recommended strength. Be careful not to over-fertilize, as it can cause foliage burn.
How should I pot my Kangaroo Paw Fern?
When repotting a Kangaroo Paw Fern, use a well-draining potting mix that is rich in organic matter. Evaluate the plant to see if it needs to be divided. If not repotting into a larger pot, divide the plant and repot one section back into the original container.
How can I propagate my Kangaroo Paw Fern?
Kangaroo Paw Ferns can be propagated through rhizome division. Every few years, divide the plant into multiple sections, making sure each section has healthy rhizomes and leaves. Another method of propagation is through spores, but it is a slower process.
How does a Kangaroo Paw Fern grow and develop?
Kangaroo Paw Ferns are fast-growing plants that can quickly fill out and become dense. Regular pruning may be necessary to control their size and shape. The ferns can live for three to five years and may produce blooms after one year of growth.
How do I deal with pests and diseases on my Kangaroo Paw Fern?
Kangaroo Paw Ferns are generally resilient to pests and diseases. However, issues like burned foliage, yellow or rotting leaves, fine webbing, or stippling may occur. Adjust light, water, and fertilizer levels accordingly, and use appropriate pest control methods if necessary.
Are there any additional care tips for Kangaroo Paw Ferns?
Kangaroo Paw Ferns prefer high to moderate humidity levels. Increase humidity by placing them in bathrooms or kitchens, or using a humidity tray or plant humidifier. Keep them away from dry air sources, remove any brown or dead leaves, and dust them occasionally with a damp cloth or paper towel.
How can I ensure the health and well-being of my Kangaroo Paw Fern?
By following the tips in this care guide, you can ensure that your Kangaroo Paw Fern thrives and stays healthy. Enjoy the beauty of this unique fern in your home.


