
Autumn brings a magical time for baking, and my favorite homemade pumpkin dessert always steals the show. This pumpkin crisp recipe transforms simple ingredients into a mouthwatering fall treat that captures the essence of the season.
What makes this fall dessert so special? It’s the perfect blend of smooth, spiced pumpkin filling and a crunchy, buttery topping that creates an irresistible texture. I discovered this recipe years ago and have been perfecting it ever since.
Each bite of this pumpkin crisp recipe delivers warm seasonal flavors that remind me of cozy family gatherings. The dessert is surprisingly easy to prepare, making it ideal for both experienced bakers and kitchen novices looking to impress their guests.
Whether you’re hosting a dinner party or simply craving a delicious autumn dessert, this homemade pumpkin crisp will become your new favorite seasonal indulgence. Let’s dive into the details and learn how to create this spectacular treat!
Why This Pumpkin Crisp Is My Fall Favorite
Fall baking is an art, and this pumpkin crisp represents the pinnacle of easy fall recipe perfection. As a passionate home baker, I’ve discovered a dessert that captures the essence of autumn in every single bite. This isn’t just another pumpkin dessert—it’s the best pumpkin dessert that combines incredible flavor with remarkable simplicity.
The Perfect Balance of Flavors
What sets this make-ahead dessert apart is its harmonious blend of textures and tastes. The rich, spiced pumpkin base creates a creamy foundation that perfectly complements the crunchy, buttery topping. Each spoonful delivers a symphony of warm fall spices like cinnamon, nutmeg, and ginger.
- Creamy pumpkin layer with deep, complex flavors
- Crisp, golden-brown topping with buttery crunch
- Perfectly balanced sweet and spicy notes
Make-Ahead Convenience
Busy home cooks will appreciate how simple this recipe is to prepare in advance. You can assemble the entire dessert up to 24 hours before baking, making it ideal for holiday gatherings or last-minute entertaining. Simply cover and refrigerate, then pop it in the oven when you’re ready to serve.
| Preparation Stage | Time Required | Convenience Level |
|---|---|---|
| Initial Prep | 20 minutes | Easy |
| Refrigeration | Up to 24 hours | High |
| Baking Time | 45-50 minutes | Simple |
Crowd-Pleasing Dessert
I’ve served this pumpkin crisp at countless gatherings, and it never fails to impress. From family dinners to potluck parties, this dessert always disappears in minutes. Its universal appeal spans generations, making it a true crowd-pleaser that everyone loves.
Essential Ingredients for Pumpkin Crisp Recipe
Creating the perfect pumpkin crisp requires carefully selected pumpkin crisp ingredients that blend harmoniously to deliver an unforgettable autumn dessert. I’ll walk you through the exact components needed to craft this delightful treat that will impress your family and friends.
Ingredients for the Pumpkin Layer
The foundation of any great pumpkin dessert starts with high-quality ingredients. For the pumpkin layer, you’ll need:
- 1 (15-ounce) can of pure pumpkin puree
- 1 cup granulated sugar
- 2 large eggs
- 1/2 cup evaporated milk
- 1 teaspoon vanilla extract
- 2 teaspoons pumpkin pie spice
- 1/4 teaspoon salt
Crafting the Homemade Crisp Topping
My homemade crisp topping is what truly elevates this dessert. These ingredients create a crunchy, golden-brown layer that complements the smooth pumpkin base:
- 1 cup all-purpose flour
- 1 cup old-fashioned rolled oats
- 1 cup packed brown sugar
- 1/2 cup unsalted butter, cold and cubed
- 1 teaspoon ground cinnamon
- 1/4 teaspoon salt
Pumpkin Dessert Garnishes
To take your pumpkin crisp to the next level, consider these optional garnishes that add extra flavor and visual appeal:
- Vanilla bean ice cream
- Freshly whipped cream
- Chopped pecans or walnuts
- Caramel sauce drizzle
- Sprinkle of additional cinnamon
Kitchen Tools and Equipment Needed
Creating the perfect pumpkin crisp requires some essential baking tools and dessert preparation tools. I’ve put together a comprehensive list of kitchen equipment that will help you craft this delightful autumn treat with ease.
Essential Baking Equipment
- 9×13 inch baking dish (glass or ceramic recommended)
- Large mixing bowls (at least two sizes)
- Measuring cups and spoons
- Whisk for smooth mixing
- Pastry cutter or fork for crisp topping
Specialized Pumpkin Crisp Equipment
While most home kitchens already have these items, a few specialty tools can make your dessert preparation even smoother. A silicone spatula helps scrape every bit of delicious filling, and a digital kitchen scale ensures precise ingredient measurements.
| Tool Category | Recommended Items | Purpose |
|---|---|---|
| Measuring Tools | Digital kitchen scale | Precise ingredient measurements |
| Mixing Tools | Silicone spatula | Complete ingredient incorporation |
| Baking Tools | Parchment paper | Easy removal and cleanup |
Don’t worry if you don’t have every single tool. Creativity in the kitchen means working with what you have. The most important ingredient is your passion for baking!
Step-by-Step Preparation Guide
Creating the perfect pumpkin crisp requires attention to detail and a few key techniques. I’ll walk you through how to make pumpkin crisp with simple, easy-to-follow pumpkin crisp recipe instructions that will help you bake a delicious pumpkin dessert every time.
Preparing the Pumpkin Filling
Start by gathering your pumpkin filling ingredients. I recommend using a large mixing bowl to combine your pumpkin puree, sugar, and spices. Whisk these ingredients until smooth and well-blended. The key is to create a creamy, consistent mixture that will form the rich base of your dessert.
- Use pure pumpkin puree (not pumpkin pie filling)
- Mix in ground cinnamon, nutmeg, and vanilla extract
- Ensure no lumps remain in the filling
Making the Crisp Topping
For baking pumpkin dessert, the crisp topping is crucial. I mix rolled oats, flour, brown sugar, and cold butter using my fingertips. This technique helps create those delightful, crumbly texture clusters that make a crisp so irresistible.
- Cut cold butter into small cubes
- Work the mixture until it resembles coarse crumbs
- Add chopped pecans for extra crunch
Baking Instructions
Preheat your oven to 350°F. Spread the pumpkin filling evenly in a 9×13 inch baking dish, then sprinkle the crisp topping generously across the surface. Bake for 40-45 minutes until the topping turns golden brown and the filling bubbles around the edges.
- Bake until golden and crispy
- Let cool for 15 minutes before serving
- Check for bubbling edges as a doneness indicator
Serving Suggestions and Storage Tips
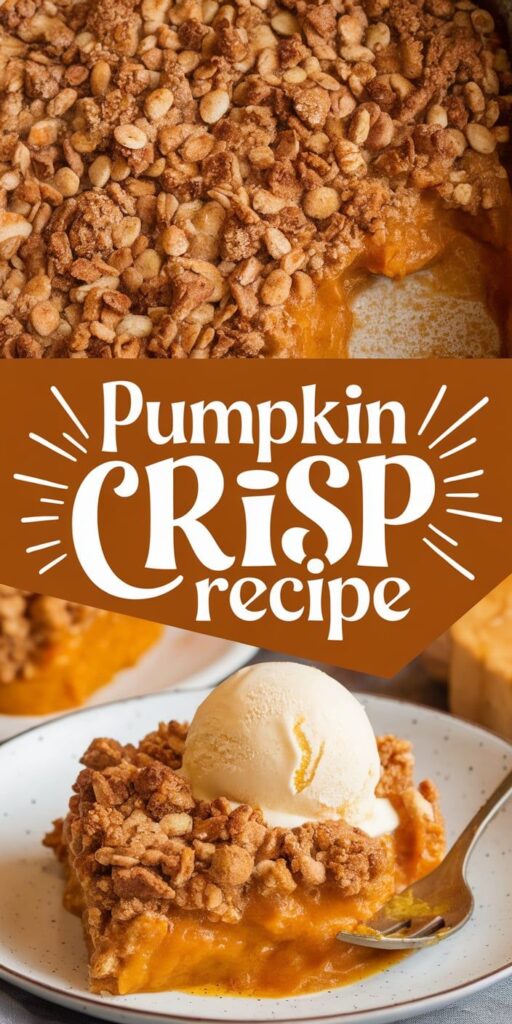
When it comes to serving this delightful pumpkin crisp, I recommend enjoying it warm with a generous scoop of vanilla ice cream. The contrast between the hot, spiced dessert and cold, creamy ice cream creates an incredible flavor experience that captures the essence of fall.
For storing pumpkin desserts, keep your leftover pumpkin crisp in an airtight container. If you’re refrigerating, it will stay fresh for up to 4 days. When you’re ready to enjoy it again, reheat in the oven at 350°F for about 10 minutes to restore that perfect crispy topping texture.
I love getting creative with leftover pumpkin crisp. Crumble it over morning yogurt or mix into your oatmeal for a decadent breakfast treat. Pair the dessert with a hot cup of spiced cider or strong coffee to elevate the entire fall dining experience.
Pro tip: If you want to prepare this dessert ahead of time, you can assemble the crisp and refrigerate it unbaked for up to 24 hours. Just pop it in the oven when you’re ready to serve, and you’ll have a fresh, warm dessert that looks and tastes like it was made moments ago.


