

Spider Ivy, also known as Chlorophytum comosum, is a popular choice for indoor plants due to its abundant foliage and ability to produce new plantlets. In this article, we will provide you with all the information you need to ensure your Spider Ivy remains healthy and vibrant. From understanding what Spider Ivy is to learning about its light requirements, watering needs, fertilizing techniques, potting tips, propagation methods, and more, we’ve got you covered.
What Is Spider Ivy?

Spider Ivy, scientifically known as Chlorophytum comosum, is a tropical evergreen perennial that is commonly grown as a houseplant.
It is characterized by its grass-like growth habit, with slender, arching leaves that grow in a rosette form. Spider Ivy can have either all green leaves or variegated leaves with green and white or green and yellow stripes, depending on the cultivar.
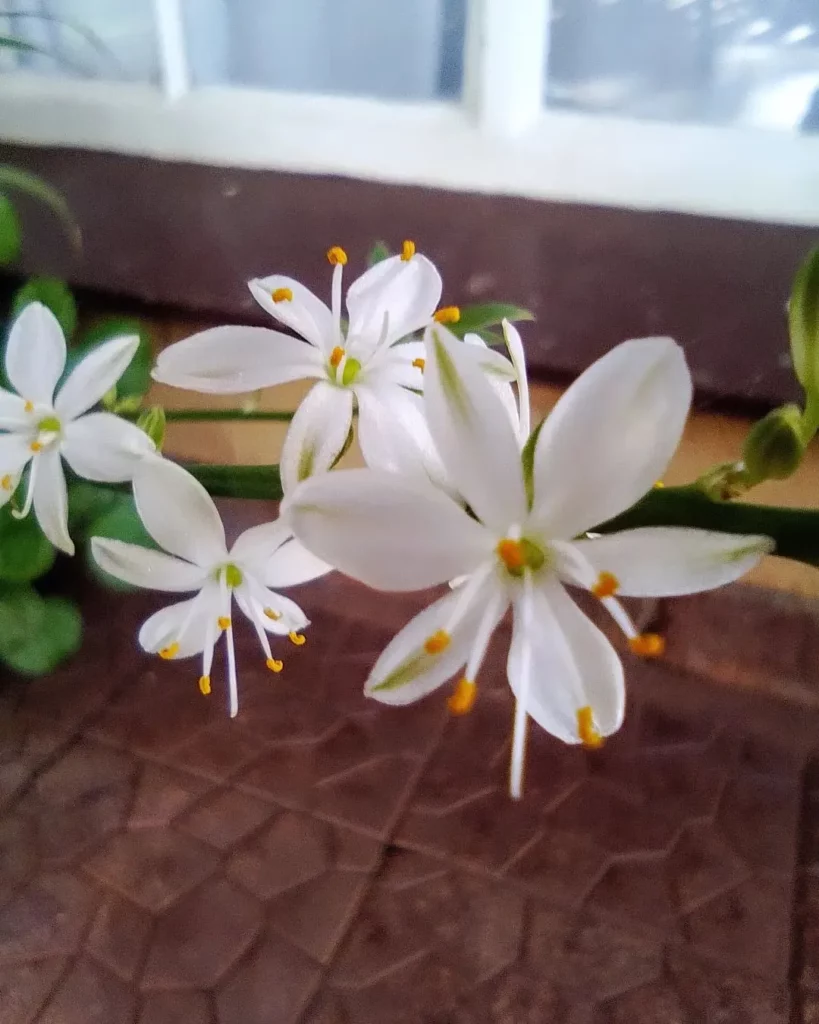
It produces small white star-shaped flowers and tiny offsets or “spiderettes,” which are its vegetative babies that remain attached to the mother plant.
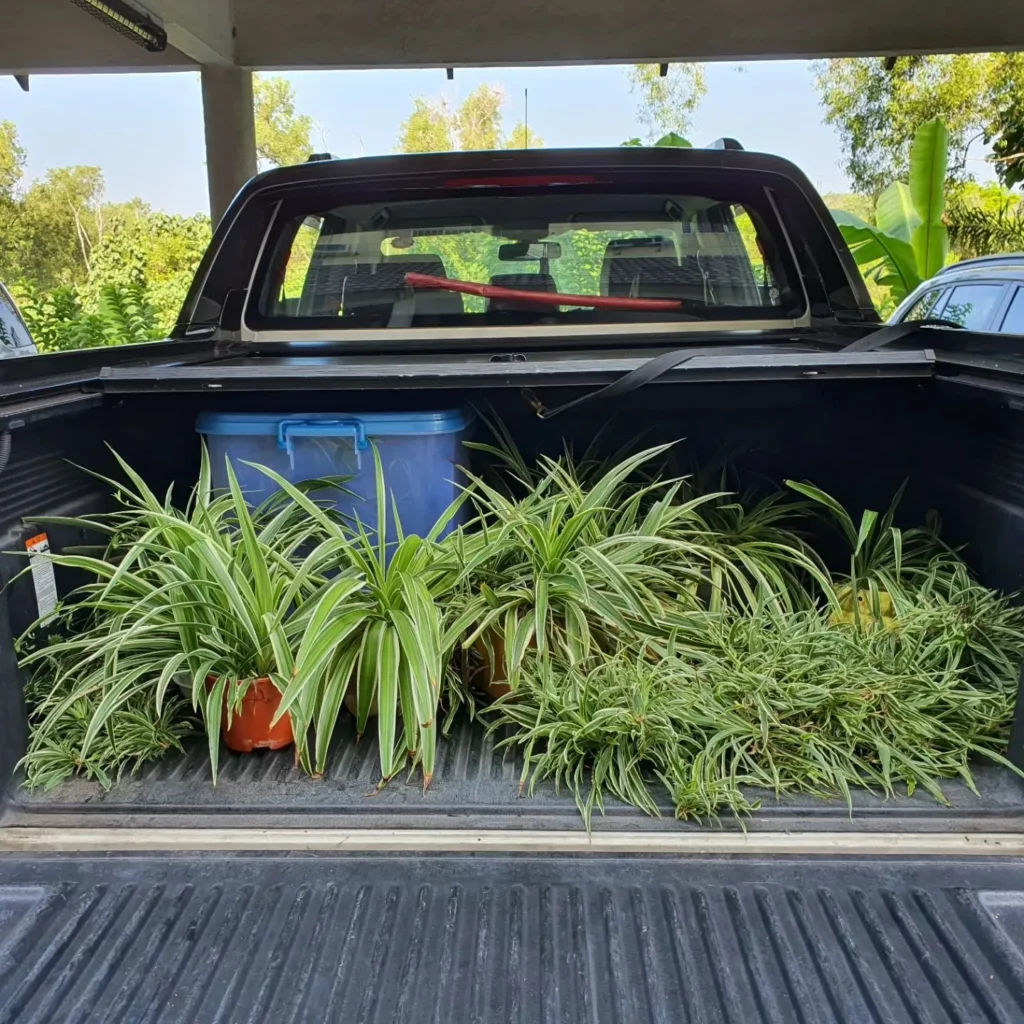
Spider Ivy is a popular choice for houseplants due to its abundant foliage and ability to produce new plantlets, making it a great addition to any indoor space.
Light Requirements for Spider Ivy

Spider Ivy is an indoor plant that thrives in bright, indirect light. It is important to provide your Spider Ivy with the right amount of light to ensure its growth and overall health. Placing your Spider Ivy near a window where it can receive filtered sunlight is ideal. This allows the plant to benefit from natural light while avoiding direct sunlight, which can be damaging.
If you notice that your Spider Ivy is not receiving enough light, you have the option to supplement its light requirements with artificial grow lights. These lights can be a great solution, especially if you have limited natural light in your home or office. Position the grow lights above the plant, ensuring they cover the entire foliage for optimal growth.
Remember to rotate your Spider Ivy occasionally to prevent it from leaning towards the light source. This will help ensure even growth and prevent lopsidedness. Spider Ivy is a versatile plant and can tolerate lower light conditions, but providing it with the right amount of light will result in healthier and more vibrant foliage.
Benefits of Proper Lighting for Spider Ivy
- Promotes photosynthesis, aiding in the plant’s energy production and growth.
- Supports lush foliage development, enhancing the overall aesthetic appeal.
- Encourages the production of oxygen, improving indoor air quality.
- Stimulates the plant’s natural defense mechanisms, reducing the risk of pest infestations and diseases.
To help you understand the light requirements of Spider Ivy more easily, refer to the table below:
| Light Conditions | Level |
|---|---|
| Direct Sunlight | High |
| Indirect Sunlight | Medium |
| Low Light | Medium to Low |
| Artificial Grow Lights | Medium to High |
Watering Spider Ivy


Proper watering is crucial for the health and vitality of your Spider Ivy plant. Spider Ivy prefers to be kept slightly moist but not overly wet. Overwatering can lead to root rot and other issues, so it’s important to find the right balance.
When determining when to water your Spider Ivy, it’s best to follow the “finger test.” Check the top inch of the soil by inserting your finger into it. If it feels dry to the touch, it’s time to water your plant.
Water your Spider Ivy thoroughly, allowing water to penetrate the soil and drain out from the bottom of the pot. Be sure to avoid letting your plant sit in standing water, as it can suffocate the roots and cause them to rot.
During the winter months, Spider Ivy enters a dormant phase where its growth slows down. As a result, you can reduce the frequency of watering. However, it’s still important to monitor the moisture levels of the soil and adjust your watering schedule accordingly.
| Watering Tips for Spider Ivy |
|---|
| Water your Spider Ivy when the top inch of the soil feels dry to the touch. |
| Thoroughly water the plant, allowing excess water to drain out from the bottom of the pot. |
| Avoid letting your plant sit in standing water to prevent root rot. |
| Reduce watering frequency during the winter months when Spider Ivy is dormant. |
Fertilizing Spider Ivy

Proper fertilization is essential for promoting healthy growth in your Spider Ivy. To ensure optimal nutrition, it is recommended to fertilize your Spider Ivy every 2-4 weeks during the growing season, which usually spans from spring to fall.
You can choose between a balanced water-soluble fertilizer or a specifically formulated houseplant fertilizer. Both options can provide the necessary nutrients to support your Spider Ivy’s growth.
When applying fertilizer, carefully follow the instructions on the packaging for the correct dilution ratio and application method. This will help prevent over-fertilization, which can result in fertilizer burn and damage to the plant. Always water your Spider Ivy thoroughly before fertilizing to prevent root damage.
Remember that every houseplant has unique needs, so it’s important to monitor your Spider Ivy’s response to fertilization. Adjust the frequency and dosage if necessary, based on the plant’s growth and overall health.
Fertilizing your Spider Ivy regularly will provide it with the essential nutrients it needs to thrive and will contribute to its lush and vibrant foliage.
Potting Spider Ivy


Proper potting is essential for the health and growth of your Spider Ivy plant. Follow these steps to ensure your Spider Ivy thrives in its new pot:
- Choose the right pot: Select a pot with drainage holes to prevent water accumulation at the bottom. This will help prevent overwatering and root rot. It’s also important to choose a pot that is slightly larger than the current one to allow room for growth.
- Prepare the potting mix: Use a well-draining potting mix formulated for houseplants. This will provide the necessary nutrients and ensure excess water drains freely.
- Repotting Spider Ivy: Gently remove the Spider Ivy from its current pot, being careful not to damage the roots. Loosen the roots by gently shaking off the old potting mix.
- Positioning in the new pot: Place the Spider Ivy in the new pot and position it in the center. Ensure that the top of the root ball is level with or slightly below the rim of the pot.
- Fill the gaps with fresh potting mix: Fill in the gaps around the plant with fresh potting mix, gently pressing it down to secure the plant in place. Avoid burying the plant too deep, as this can lead to root rot.
- Watering after potting: After repotting, water the Spider Ivy thoroughly until water drains out from the bottom of the pot. This will help settle the soil and hydrate the plant.
Note: Repotting may not be necessary every year. Assess your Spider Ivy’s growth and rootboundness to determine when repotting is needed.
Propagating Spider Ivy

If you want to expand your collection of Spider Ivy or share this beautiful houseplant with friends and family, propagating Spider Ivy is a simple and rewarding process. Spider Ivy is known for its ability to produce offsets or plantlets, which can be easily propagated to create new plants.
Propagation through Offsets
Offsets are small spiderettes that grow on long stalks from the mother plant. These plantlets can be snipped off and propagated to create new Spider Ivy plants. Here’s how you can propagate Spider Ivy through offsets:
- Prepare a clean pair of scissors or pruning shears.
- Identify a healthy offset that has developed a few roots.
- Carefully snip off the offset from the mother plant, ensuring that it has some roots attached.
- Place the offset in a container filled with water or moist soil.
- Keep the container in a warm and bright location, but avoid direct sunlight.
- Within a few weeks, the offset will develop more roots and can be potted as an individual plant.
Make sure to provide the propagated offset with the same care as mature Spider Ivy plants, including proper watering, light conditions, and fertilization.
Propagation through Division
Another method of propagating Spider Ivy is through division. This method involves separating the plant into smaller sections, each with a good amount of roots and foliage. Here’s how you can propagate Spider Ivy through division:
- Carefully remove the Spider Ivy plant from its pot.
- Gently loosen the roots with your hands or a tool.
- Divide the plant into smaller sections, ensuring that each section has a healthy amount of roots and foliage.
- Plant each divided section in a separate pot filled with well-draining potting mix.
- Water the divisions thoroughly and place them in a suitable location.
Remember to provide the divided sections with the same care and conditions as mature Spider Ivy plants to promote their successful growth.
| Propagation Method | Pros | Cons |
|---|---|---|
| Propagation through Offsets | Easy and straightforward | Offsets may take longer to develop roots |
| Propagation through Division | Allows for larger, more established plants | Requires more careful handling and separation |
Growth and Development of Spider Ivy
Spider Ivy is a fast-growing plant that can quickly fill out a space with its lush foliage. Under ideal conditions, it can produce long cascading leaves and numerous offsets. With proper care and maintenance, Spider Ivy can exhibit vigorous growth and continue to thrive for many years.
Regular pruning is essential to maintain the desired shape of Spider Ivy and prevent it from becoming too crowded. Trimming back overgrown vines promotes bushier growth and encourages the development of new leaves. Remove any yellow or brown leaves to keep the plant looking neat and healthy.
Spider Ivy can go through periods of dormancy during the winter months when growth may slow down. This is a normal part of its growth cycle, and it will resume active growth in the spring. During this dormant phase, reduce watering frequency and avoid fertilizing the plant. Provide it with a cooler environment and less light to mimic its natural winter conditions.
Spider Ivy has the unique ability to produce plantlets or offsets, which can be easily propagated to create new plants. These offsets are the small spiderettes that grow from the mother plant. Simply snip them off and place them in water or moist soil. Within a few weeks, they will develop roots and can be potted as individual plants.
Spider Ivy is a resilient and adaptable houseplant that can thrive in various conditions. It is important to provide it with the right amount of light, water, and nutrients to support its growth and development. With proper care, your Spider Ivy will continue to flourish, adding beauty and freshness to your indoor space.
| Spider Ivy Growth and Development Checklist |
|---|
| Provide bright, indirect light |
| Water when the top inch of soil is dry |
| Fertilize every 2-4 weeks during the growing season |
| Trim and prune regularly to maintain shape |
| Allow for periods of dormancy during winter |
| Propagate through offsets or plantlets |
Pests and Diseases of Spider Ivy
Spider Ivy is a resilient and generally pest-free plant, making it an excellent choice for houseplant enthusiasts. However, like any other houseplant, it can occasionally fall victim to pests and diseases. By being proactive and attentive to the needs of your Spider Ivy, you can keep it healthy and prevent any potential issues.
Common pests that may affect Spider Ivy include spider mites, aphids, and mealybugs. To identify a pest infestation, inspect your plant regularly for signs such as webs, tiny insects, or distorted leaves. If you notice any pests, don’t panic. Treat your Spider Ivy with a suitable insecticidal soap or horticultural oil, following the instructions provided by the manufacturer.
While Spider Ivy is relatively resilient, overwatering can lead to root rot or fungal infections. To prevent these diseases, it is essential to ensure proper drainage and avoid waterlogged conditions. Be mindful of the watering schedule and allow the top inch of soil to dry out before watering again. A healthy environment with good air circulation plays a significant role in minimizing the risk of diseases as well. So, make sure to provide adequate ventilation and avoid overcrowding your plant.
FAQ
How often should I water Spider Ivy?
Water your Spider Ivy thoroughly when the top inch of the soil feels dry to the touch. Avoid overwatering, as this can lead to root rot.
How often should I fertilize Spider Ivy?
It is recommended to fertilize your Spider Ivy every 2-4 weeks during the growing season. Follow the instructions on the fertilizer package for the correct dilution ratio and application method.
What type of light does Spider Ivy need?
Spider Ivy thrives in bright, indirect light. It can tolerate lower light conditions as well but avoid placing it in direct sunlight as this can damage the leaves.
How do I propagate Spider Ivy?
Spider Ivy can be easily propagated through offsets or plantlets. Simply snip off the offsets and place them in water or moist soil until they develop roots. Another method is to divide the plant into smaller sections, ensuring each section has roots and foliage.
How often should I repot Spider Ivy?
Repot Spider Ivy when it outgrows its current pot. Choose a slightly larger pot and fill it with fresh potting mix. Water your Spider Ivy thoroughly after repotting.
How do I prevent pests and diseases in Spider Ivy?
Inspect your plant regularly for pests and treat with appropriate insecticidal soap or horticultural oil if necessary. Avoid overwatering to prevent root rot and ensure good air circulation to prevent the spread of diseases.
How can I promote healthy growth in Spider Ivy?
Provide Spider Ivy with bright, indirect light, regular watering when the soil is dry, and regular fertilization during the growing season. Prune regularly to maintain shape and prevent overcrowding.


